Before Starting
As when undertaking any DIY or manual work, whether you are block paving or building a shelf in your living room, it is important for you to look after yourself and be safe. Part of this includes ensuring you have good quality equipment to do the job at hand.
If your plan is particularly large, or if, after reading this guide, you feel it is a little too much for you to carry out yourself as a beginner – there are a range of affordable professionals that would be more than happy to help with the task. Just get in touch and we will be able to point you in the right direction.
Equipment Needed for Laying Paving Slabs
As a rough guide, the following equipment list is a great benchmark if you are looking to lay paving slabs:- Shovel
- Safety Gloves/Hat/Goggles/Ear protection
- Sensible Clothing/Knee protection/ Steel Toe Caps
- Trowel
- Rake
- Spirit Level
- Rubber Mallet
- Tape Measure
- Pencil
- Knife
- String line/Plumb line
- Wheel Barrow
- Cement Mixer
- Circular Saw/Disc Cutter
- Vibrating plate
- Smoothing Tool or Pipe
Step 1 – Paving Preparation
So what will the finished area look like?
Whether you are working on a driveway, patio or path, having initial blueprints and designs carefully measured is essential to ensure a successful job.
Figure out what ground you need to cover and order your stone accordingly. For larger areas take into consideration perhaps hiring a mini excavator to prepare the site for laying. It costs extra to do this but can save a lot of man hours of back breaking digging!
For a project to be safe, and to get the most out of the product in terms of durability, please make sure the site has adequate drainage. Think about how the water is going to drain off the paving when it rains. If necessary it may be useful to create a small slope in your work to make sure there is sufficient drainage for surface water. If in doubt, please put a call in to your local water/energy suppliers to ensure the site is suitable and that you won’t damage any cables or pipes that may or may not be beneath the working area.
Next, you need to mark out your area using a pencil and tape measure. You could even be a bit more innovative and use string threaded through old tent anchors to map out your area more clearly while working.
Once you have done this, excavate the area to a depth of 150mm below your desired finish level. If you are doing this with a spade and shovel be mindful of your technique to avoid straining the back muscles.

Step 2 - The Sub-Base
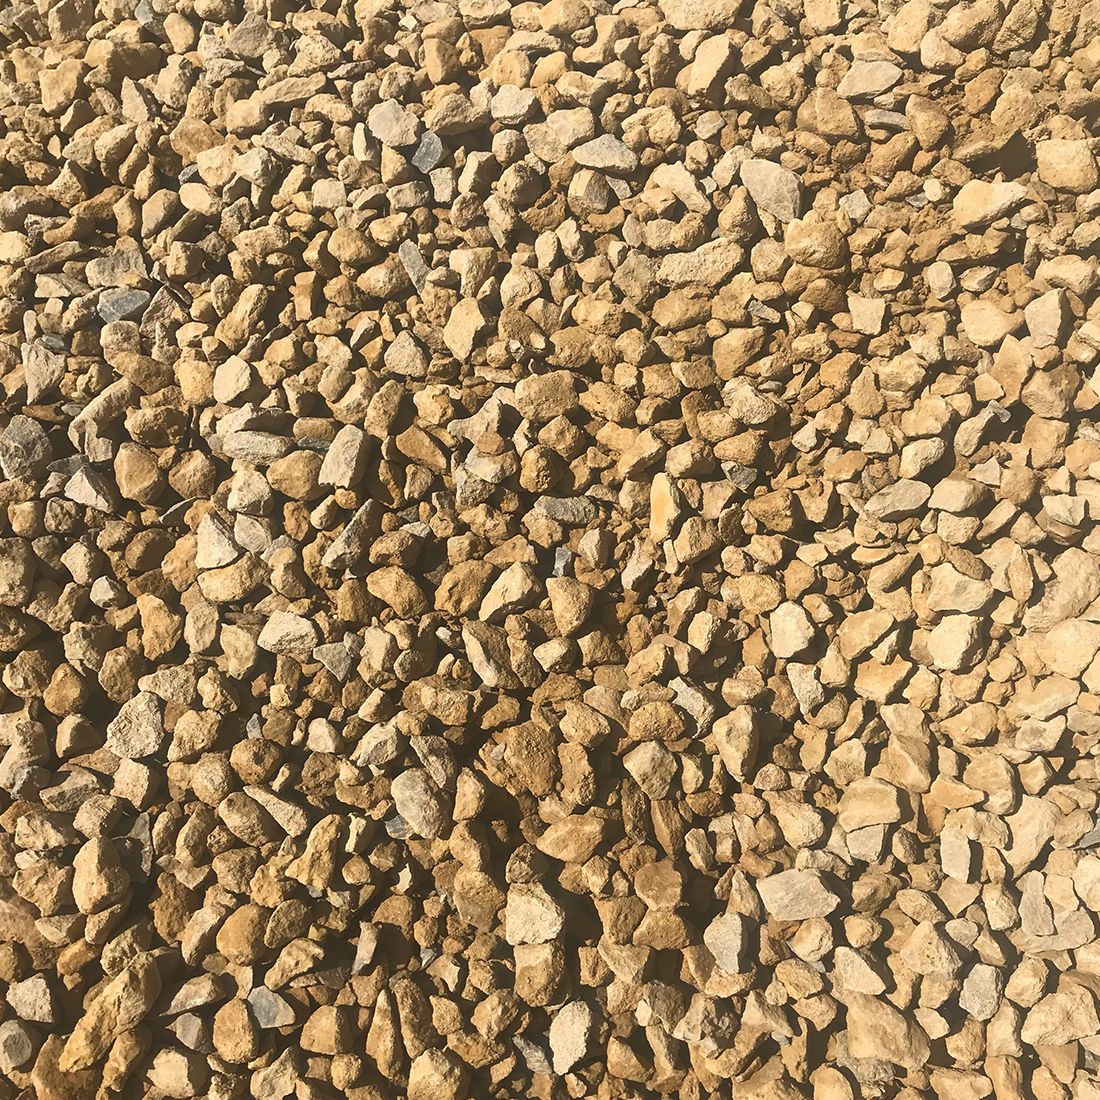
The next stage is to apply a sub-base of MOT Type 1 crushed concrete. This can be spread across the area with a rake initially, make sure this is extended past the marked area, as this adds stability, and then thoroughly compact using a vibrating plate machine.
You want to aim for a minimum thickness of 75mm whilst doing this. When using a vibrating plate please follow all manufacturer’s guidelines and in particular make sure your ears are protected from the noise.
Step 3 – Preparing A Cement Mix
Safety gloves are essential for this part to protect your skin from cement. You can make the mix by using the cement mixer or, if you don’t have one, a simple wheelbarrow and shovel:
- Start off by making a mix of 4 or 5 parts building sand, 1 part cement and water to create an even consistency.
- Then, from the furthest point away, apply a perimeter course of mortar that is approximately 50mm thick to the sub-base where you want your first slabs to go.
A lot of people ask "can you lay paving slabs on building sand" - So we've answered that here.
Now comes the fun part; laying your paving stones.
Step 4 – Laying the Paving Slabs
So you’ve prepared the site and now it’s time to turn it into a paved paradise. What’s next?
Always lift from your legs, not your back. It’s important to only attempt to carry loads that you are comfortable with and not over exert yourself here, as this part is hard, but satisfying work.
Get help where needed to carry the heavier stones, and mind your fingers and toes! Steel toe capped boots are always recommended in these situations.
Guide your stone over the laid mortar and gently position it flat on top. Use a rubber mallet and tap the centre of the stone to move it to the required finish level and slope for surface water drainage.
You want to make sure that throughout this process your stones are guided in evenly and smoothly, so take your time. Keep an eye on gaps between paving stones throughout, are they consistent? Use your hand to check edge levels.
Once you are satisfied that you have finished laying your area and it looks clean, you will want to allow it to set in place for 24-48 hours.

Step 5 – Final Touches and Sealing
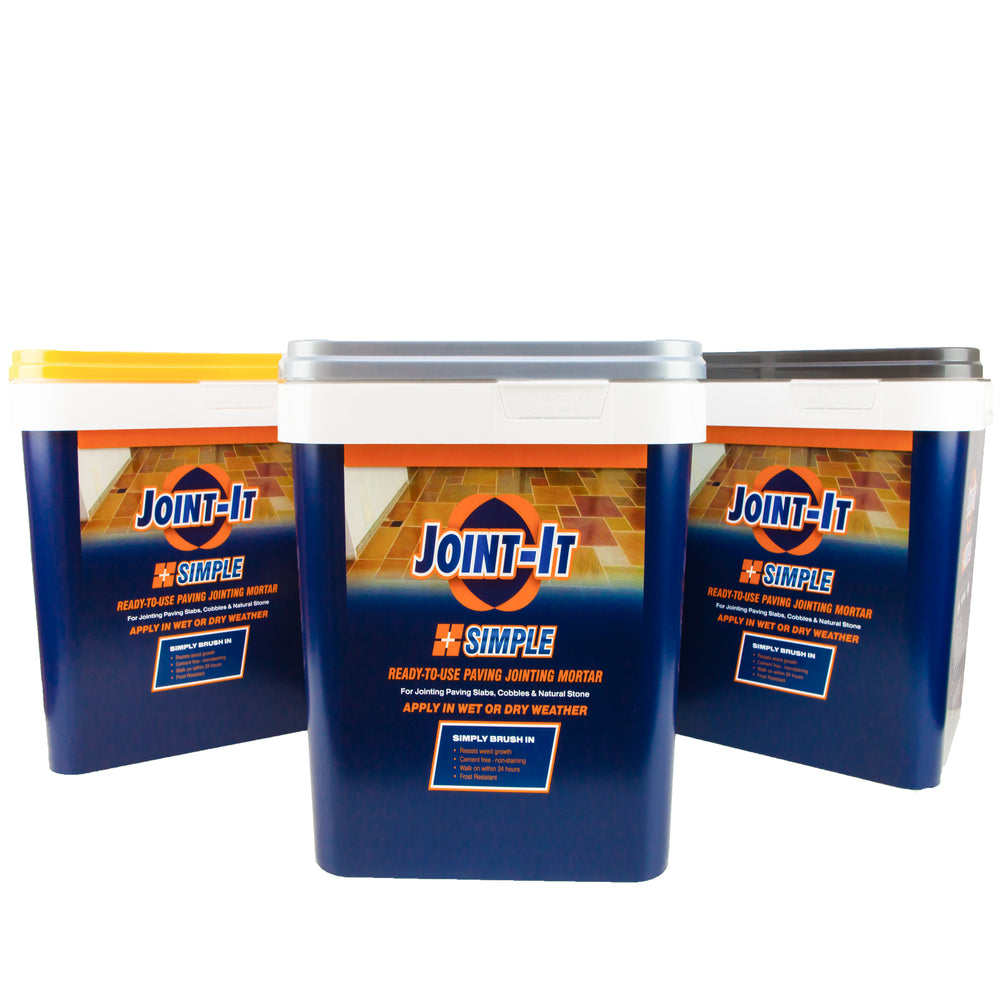
When the paving stones are set, pointing them makes a good job look that little bit better. Use a jointing compound like Joint-it to brush into your joints and make them look even smoother. Always read manufacturer instructions before undergoing any jointing, but the basics have been outlined here.
Wear safety gloves as you work on this. Spread the jointing compound out with a trowel and brush into your joints with a small hand brush.
Once in the joints, you can use your trowel to smooth the compound across the joint; a smoothing tool or small piece of pipe comes in handy for a professional looking finish.
You can also choose to apply a sealer to the area which will further weatherproof the paving and can also create a glossy or matte effect based on your preference. Due to the nature of natural stone, you can sometimes get what is known as an efflorescence raise up through a natural stone after it has been laid. This is nothing to worry about and is a natural occurrence – however, this means sealing is normally recommended some while after the job has been complete. This efflorescence needs to be given time to develop, as if the product is sealed before it shows up – you effectively seal this into the stone. Not ideal! If the patio has been laid in the late summer, for example, it might be safer to leave it until the following spring before sealing. The longer you leave it before sealing, the better. However, if there is no sign of this occurring after 6-8 weeks, you should be fine.
Always read the manufacturers guides or labels on any product you choose.
There you have it! A wonderfully paved job.