So you've decided you want to seal your patio. Great! It will give you added peace of mind knowing that your stone is protected against stains as well as the terrible British weather!
If you are still undecided on whether you need to seal your new patio, read here: Do You Need to Seal Stone Paving? Pros & Cons
The first choice to make is what type of sealer you want to use. This is a matter of two choices and is completely dependent on the type of finish you want on the stone:
Colour Enhancing sealers - As the name suggests, this sealer deepens the colour of the stone and makes the slabs pop with colour. Dark colours look deeper and colour variations look brighter.
Invisible sealers - These kinds of sealers do not affect the colour. They simply add a layer of protection to the stone.
How To Seal A Patio - A 5 Step Guide
Once you have decided on the desired effect, it's time to get started with sealing your patio. There are 3 important stages to sealing your patio: preparation, application & maintenance.
We will go over each in turn.
Preparation of your Paving Slabs Before Sealing
It's important to ensure your area is ready to accept the sealer. Once applied, it's permanent - so any dirt or debris that is trapped under the sealer is going to remain there. Clean, clean, clean! Think of it this way, the state your patio is in when you begin sealing is the way it is going to stay - so don't seal it until you are happy with it.
Step 1: Waiting after installation
The first step after installation is the easiest: you just need to wait. Sealing isn't recommended until at least 8-12 weeks after the paving has been installed. The reason for this is something known as efflorescence - this is a white, powdery calcium-based substance that can be present in some slabs. After installation, once the patio has been exposed to the weather efflorescence can be brought to the surface and sit on top of the slabs.
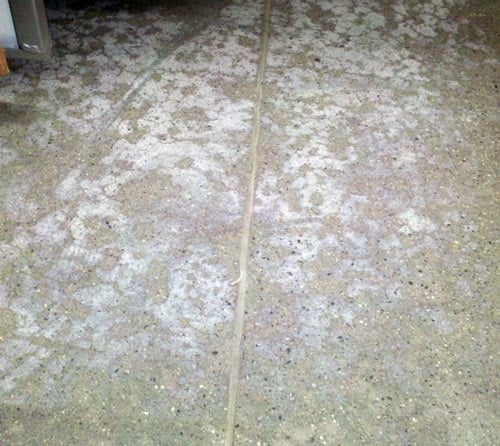
An extreme example of the efflorescence
If you want more information on what efflorescence is and how it works, read a very good article from Pavingexpert here: http://www.pavingexpert.com/eff01.htm
Step 2: Cleaning your slabs
So the wait is over, you've not seen any issues with the paving for 12 weeks or more and therefore it is ready to seal. The next thing you need to do is to completely clean the area. And we mean clean it. An extensive deep clean with a power washer is ideal - if you don't have one, we're afraid it's hands and knees time!
Methodically work through each slab getting all the muck and marks off the surface. If you are using a power washer, be careful to avoid the joints as the grout is liable to come flying out if you aim too close to it!
Once each slab has been cleaned, allow for 3 consecutive dry days to ensure all the moisture has completely dried out from the slabs. If there is any moisture on the surface when you seal your patio, the sealant will often react with the moisture and turn a milky colour which is known as 'blooming' and ruin the slabs - so please ensure the slabs are bone dry. Whilst the blooming process is reversible, it's best avoided where possible!
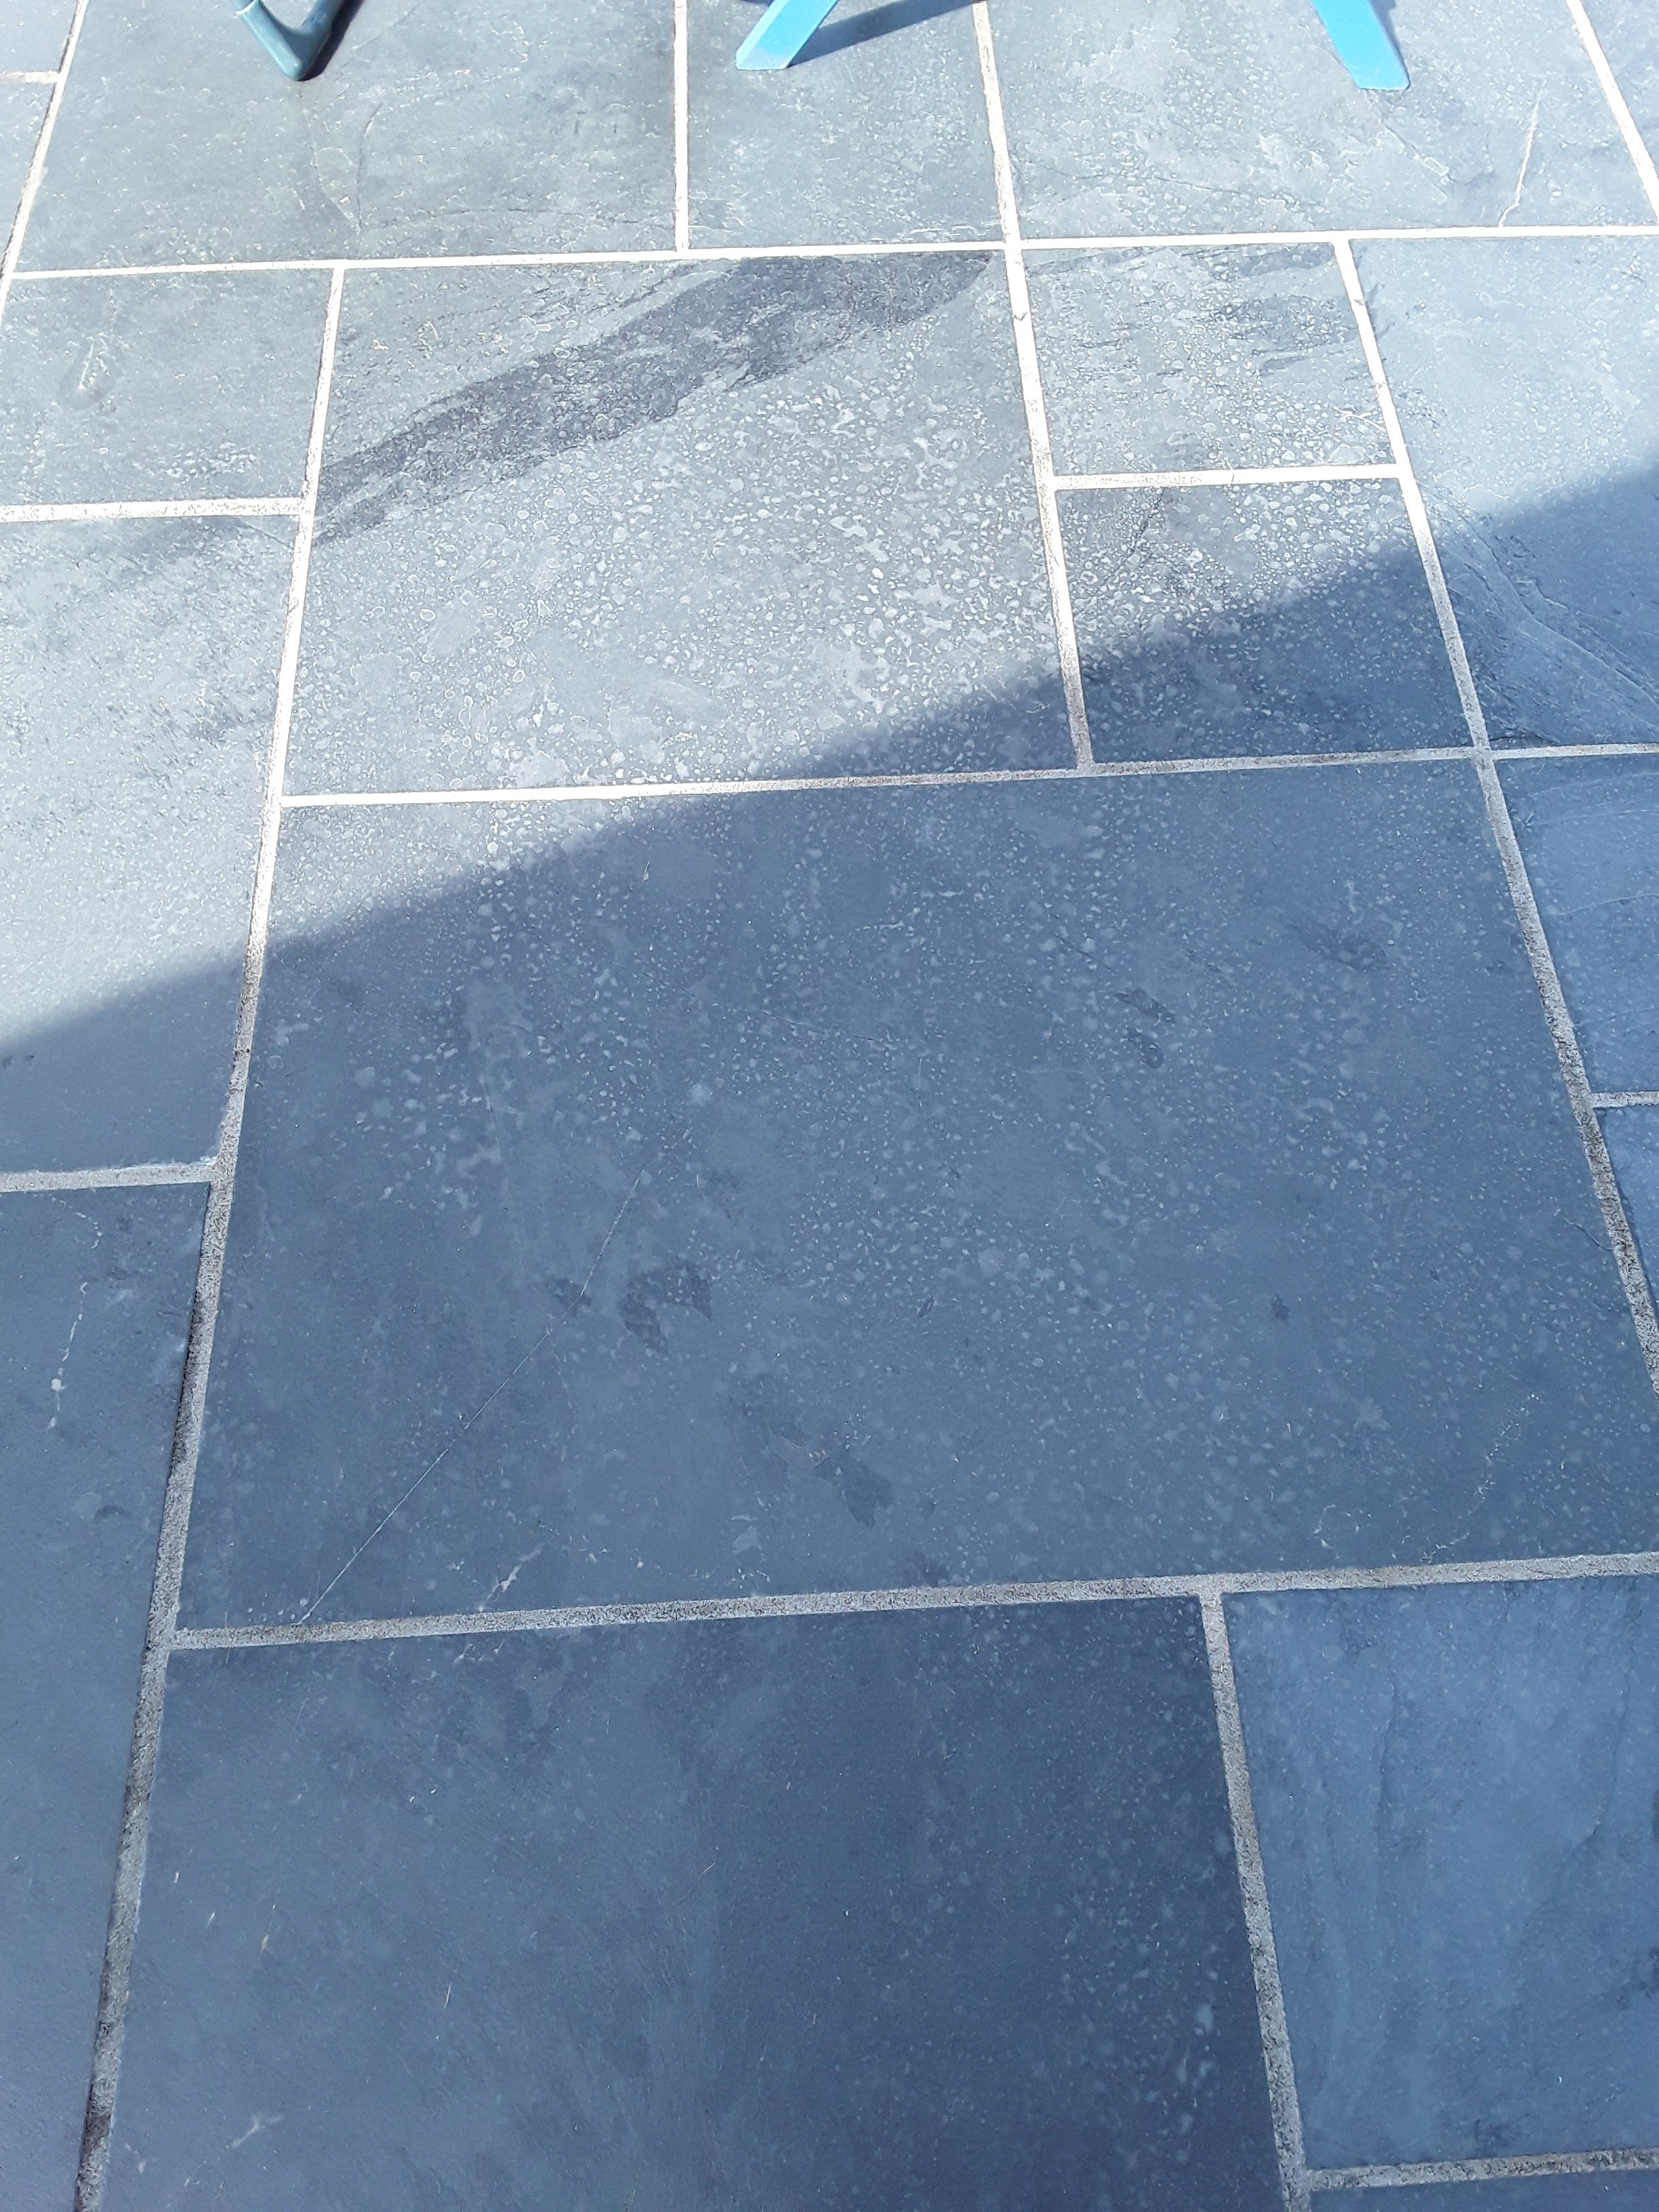
'Bloomed' Sealant on Brazilian Slate
Application of Patio Sealer
Once all the preparation work has been done, it's time to apply your choice of sealant. It's a very simple process, but it's important to get it right.
Step 3: Painting the sealer onto your slabs
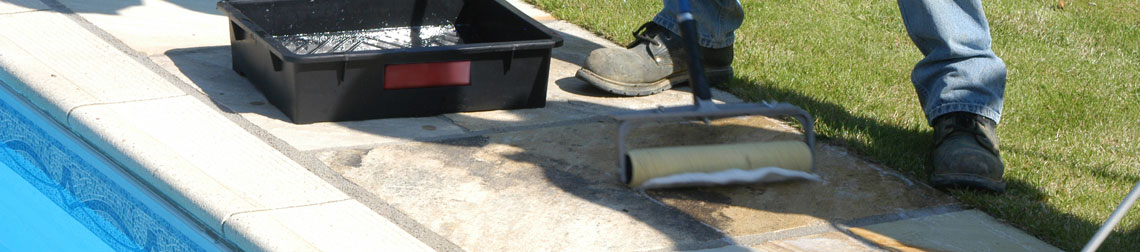
This can be done in a number of ways. We have found the easiest way to do this is with a long-handled paint roller as it means you don't have to get on your hands and knees!
Pour the sealant out into a paint tray and cover your paint roller in it. Then simply roll the sealer directly onto the slabs, avoiding all joints. It's as easy as that.
See the below video for a demonstration. This also covers a second method of using a spray gun, but it is much easier to use the roller method:
A Resiblock product being applied by a professional.
Step 4: Adding a second or third coat
You will have decided before you start the kind of look you want to create and whether you are going for an invisible or colour enhancing sealer.
If you are going for an invisible sealer, one coat is enough.
If you want to enhance the colour, then the number of coats depends on the desired effect:
- 1 Coat - an enhanced colour that dries to give a matte finish.
- 2 Coats - A gloss finish.
- 3 Coats - a persistent wet-look effect.
Each subsequent coat needs half the amount of sealer. So for example, if your first coat needed a 5L tin to coat your patio, the second will need 2.5L and the 3rd coat will only need 1.25L.
If you are applying a second or third coat, wait for the previous coat to begin to dry out before applying the next coat. This takes around an hour.
It's important you don't let it dry completely. If allowed to dry completely, the second or third coats won't penetrate the stone fully, which means you will be in danger of having a tacky sealing substance sat on the surface. It's all about timing.
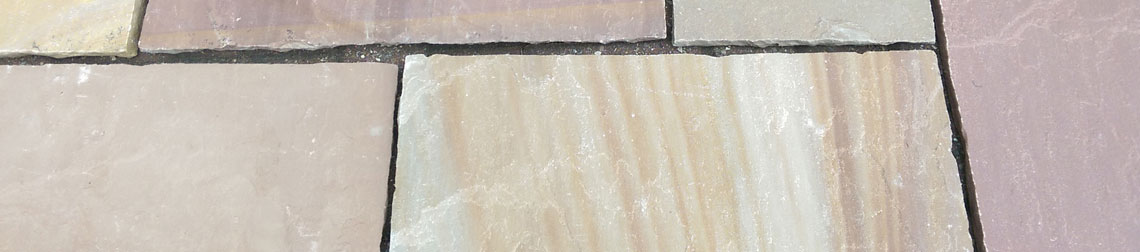 Figure 1. Unsealed Sandstone Paving (Image: Azpects)
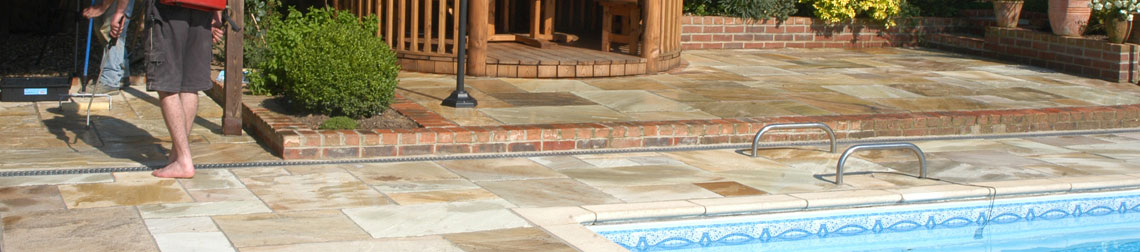
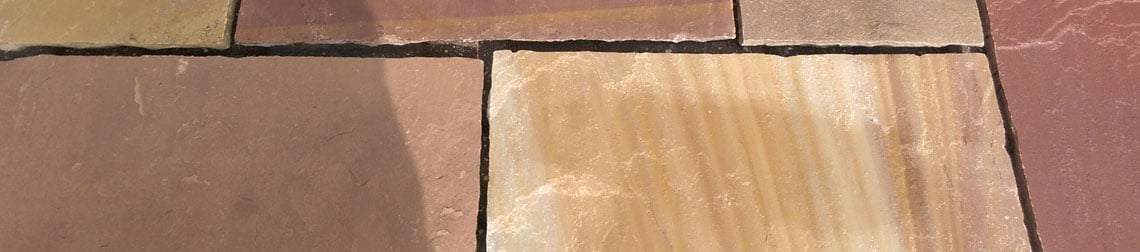 Figure 2. Sealed Sandstone - Single Coat Colour Enhancer (Image: Azpects)
Maintenance of your Patio Sealer
We would love to say sealing is a one time job. But unfortunately, it doesn't last forever thanks to our torrid British weather. It will beat it down over time and eventually the sealer will lose its effects. Step 5 is simply to maintain the look.
Step 5: Maintenance - repeat steps 2-4
After 18-24 months, your paving will be ready for a fresh top-up of sealer. It's important to use the same product to get the same results, but the process is much the same. If you have opted for Black Limestone, the time limit is a little different - make sure you have a read up on the material here.
Give the paving a thorough clean & roll the sealer onto the slabs, avoiding the joints.
The only difference here is that you will only need 1 layer of sealer this time to restore it to the finish you chose first time round.
Step 5 is incredibly important! While your paving may have looked ideal when first sealed, a little TLC before the spring will make sure it keeps looking its best for as long as possible.
For an extensive overview of the different types of natural paving and whether or not you need to seal them - make sure you read our handy guide here.
We hope this helps!
2 comments
Hi Cath,
When sealed, that will indeed cause water to pool. Sealer is designed to prevent water absorbtion which helps with stain prevention.
Two options really:
1. Leave the mortar/jointing compound gaps unsealed so water can drain away here.
2. The patio should have a slight slope away from brickwork so it runs off and into a lawn or elsewhere.
Sealer does cause what you say, but it is designed to increase the lifespan of the patio.
I’m was just about to use a sealer for Indian/ natural stone and I tested 2 slabs which are not connected to main patio and what I found after it has dried that the surface water on the slabs doesn’t absorb into the slabs. So a lot of surface water would remain on slabs after rain . Not a look I would want and would it not affect the patio or the brickwork that the patio butts up to?