When it comes to installing porcelain paving slabs, you might think on first viewing that the job is going to be as straightforward as laying any other type of paving slab or tile. If that’s what you think, then guess again. 
Most paving materials pull in quite a lot of water, but porcelain has such a low water absorption rate that it will take in virtually no liquid from the bedding mortar during installation. For a good tile bond to be achieved, the tiles must be carefully primed with a slurry primer, which fortunately is cost-effective and easy to use, it just creates some added steps and considerations to the paving process.
In this article, we are going to discuss what porcelain slabs are, what tools you’ll need to fit them, and we’ll also walk you through the recommended process for installing porcelain paving.
'What is porcelain paving?’
Porcelain paving slabs are a particular type of construction material that is created by firing porcelain clay in a kiln. They’re an incredibly versatile option for many constructors as they can be stylised in a way to make them appear as if they are actually stone or wood, as well as having artificial textures imprinted on the surface to make them even more realistic to the touch. Due to this versatility, they’ve become a very popular material choice for both indoor and outdoor projects.
As mentioned in the introduction, porcelain is almost impermeable, meaning only tiny amounts of water can get inside it, making it a far more reliable choice than other kiln-fired materials such as terracotta. Porous materials are more vulnerable to frost, making them less than ideal for the damp British climate, in which they would eventually crack from the frosting and thawing process.
‘What tools do I need?’
Being prepared for the job is key, and since we don’t want you to get hurt, we recommend that you take extra health and safety precautions, like getting gripped shoes, tough gloves, and protective sleeves.
To lay porcelain paving properly, you’re also going to need:
- A rubber mallet
- A spirit level
- A shovel
- A pointing trowel
- A string line
- All-in ballast
‘How do I lay porcelain paving slabs?’
Follow the 12 steps below for a great porcelain paving experience.
- Do a dry lay of your patio before going ahead with the real lay. This involves placing the slabs down to check the size, the layout, and that you have enough slabs for your needs.
- Mark out your paving area, giving yourself an extra 150-300mm of room to work with.
- Use your shovel to excavate to 150mm, which allows for the 100m sub-base, a 30mm mortar bed, and the porcelain paving slabs.
- For every metre width or length of the patio, 17mm (or 1:60) of fall is required. To set this up, use 2 taught string lines, one along the length and one along the breadth. Your spirit level and the straight edge will come in handy at this point when you’re making sure that the new paving units are aligned.
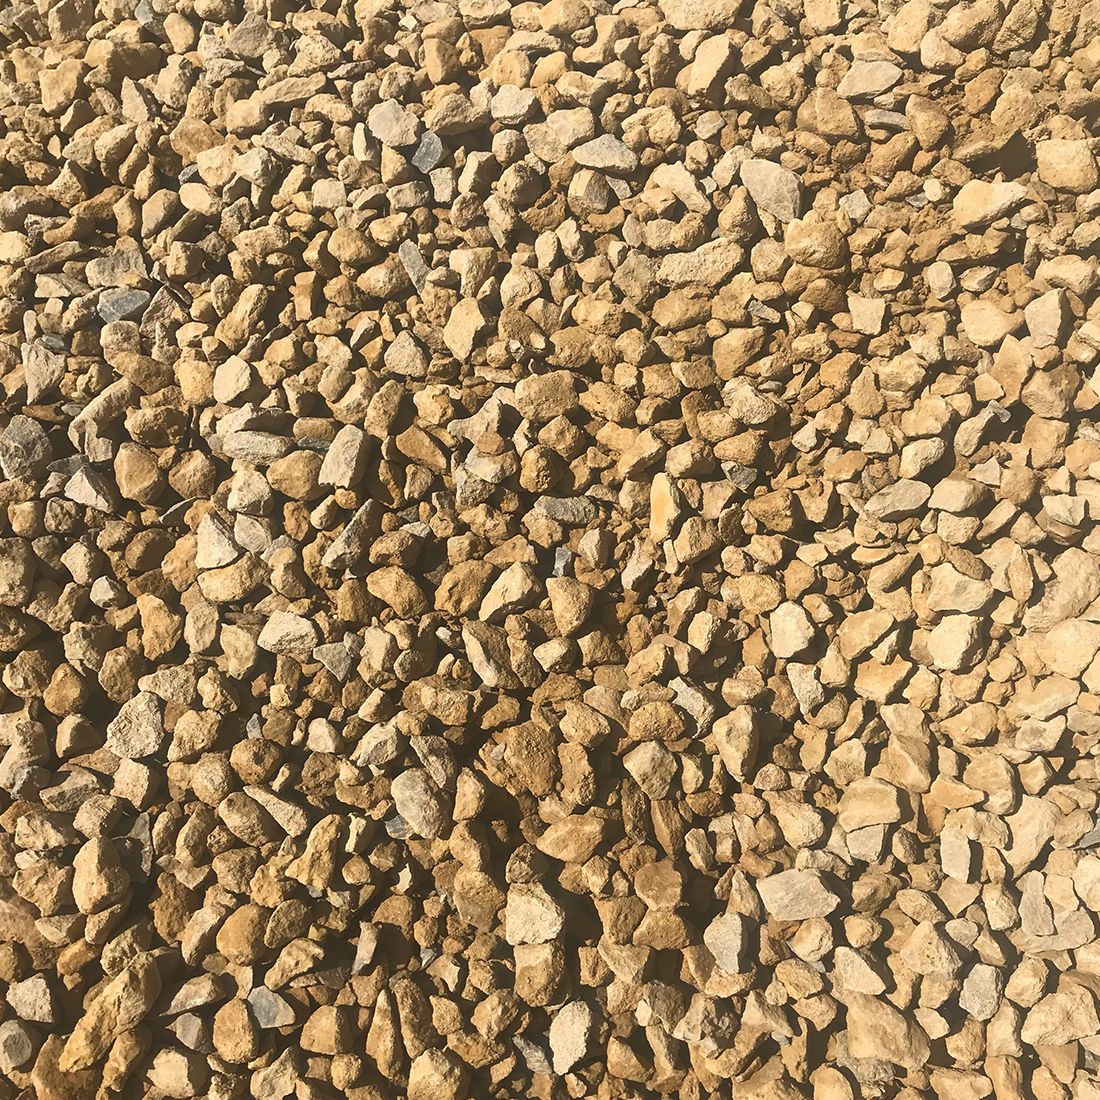
- Optional. To give sufficient strength and stability to your patio, you’ll need a Type 1 or MOT sub-base. We recommend placing a geotextile over the ground first if you’re concerned about weeds or an unreliable base.
- Spread out your aggregate to form an even layer about 35 to 40mm below the string line. You should then compact the aggregate down to around 25-30mm.
- Using a mechanical mixer, combine sharp sand and cement at a ratio of 4:1 to make a mortar that is not runny or sloppy. Use a plasticiser if necessary.
- Next, you need to apply the 4:1 mortar mix you have prepared to your sub-base using a shovel or trowel. Only apply mortar to a small area at a time (slightly larger than the area of a single slab) as you will need to place the slab onto a mortar that is as fresh as possible in order to give the best chance of strong adhesion. Use a trowel to level out the mortar as best you can before roughing it up slightly. A rough surface is better for adhesion than something that is perfectly smooth.
- Being careful not to get any primer on the face of the slabs, take a masonry brush and coat the underside of each slab with slurry primer just before you lay it. It’s vital that you complete this step and implement a sufficient bonding bridge, otherwise your paving will fall in a short amount of time.
- Placing the primed slabs takes a bit of delicacy and care, and the ease with which you can lay your porcelain depends on how large and heavy it is. Carefully place the slab on the bed and be wary of any drips or splashes from the primer. Be sure to leave enough of a joint between your slabs for the jointing agent to be applied later.
- Now, take your rubber mallet and tap down the slabs until they reach the correct level, being sure that there are no high spots or hollows. What you’re hoping to achieve during this stage of the paving process is for absolute contact between the mortar and the primer-coasted base. Repeatedly check your string lines to make sure each flag is properly aligned and level. Before the mortar becomes too stiff, make your adjustments and then wipe down the slabs really well to stop any mortar from drying. Once any accidental mortar splashes dry, they are a complete nightmare to get off!
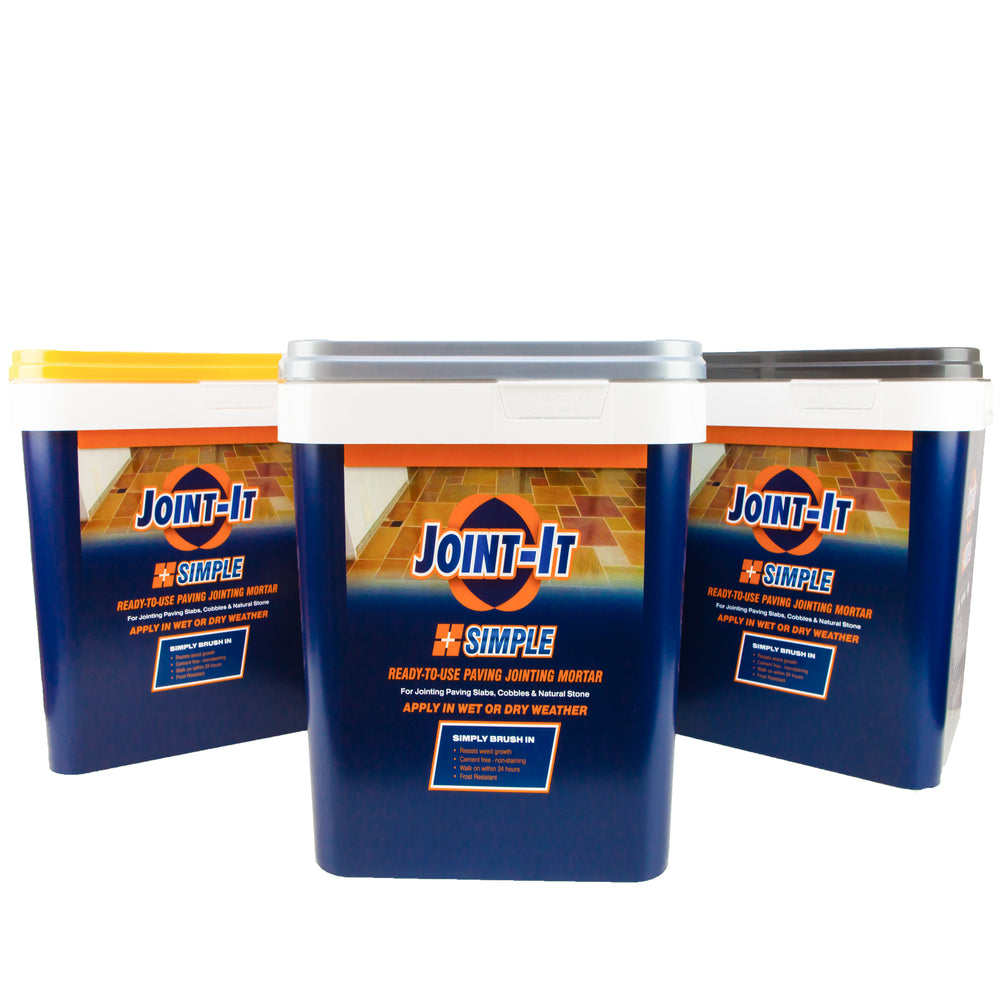
- Use a jointing agent that has been designed specifically for the outdoors and in combination with porcelain to get the best effect.
- Create a cordon around the paved area to stop anyone from walking on it and then wait at least 24 hours before opening it up to visitors.
In conclusion
If there are some key points that you should take from this article about how to lay porcelain paving, it’s that you should always dry lay your patio first to make sure the measurements are correct. As well as this tidbit of advice, we recommend creating a solid foundation with accurate depths and be sure to continually check the depths and levels throughout. Any pro will also be sure to advise you to start laying from the corner and work your way outwards. Beyond that, we wish you good luck!