Installing a fireplace hearth can often seem like a more complicated job in principle than it actually is in reality. Often the trickiest part is simply dealing with the weight of the piece! These days, the wood-burning stoves are so economical with their heat outputs that you don’t even have to worry about heat pouring from the stove into the hearth and cracking the stove.
But there are a few things you can do to ensure your hearth fitting is successful first-time round. Make sure you understand the type of hearth you have, as there can be small differences in how to install them. Once you understand the difference, make sure you have prepared the area appropriately before paying the hearth into the recess on an appropriate adhesive. Let’s get into it!
Key Takeaways:
- Type of Hearth Matters: Recognise if you have a single-piece or multi-piece hearth, as each type requires a different method of installation.
- Base Requirements Based on Burner Type: Open fires need a constructional hearth due to high heat output, while wood/eco-burners can be placed directly on decorative hearths.
- Preparation is Crucial: Before installation, ensure the area is non-flammable, remove any skirting boards nearby for safety, and prepare a clean and dry surface.
- Adhesive Application: Use tile adhesive on the base for the hearth. The entire surface should be level and even to prevent future cracks or instability.
- Laying the Hearth: For smooth, even surfaces, a grip-fill or adhesive layer can be used to secure the hearth. Uneven surfaces require leveling with thin-set mortar or flexible tile adhesive.
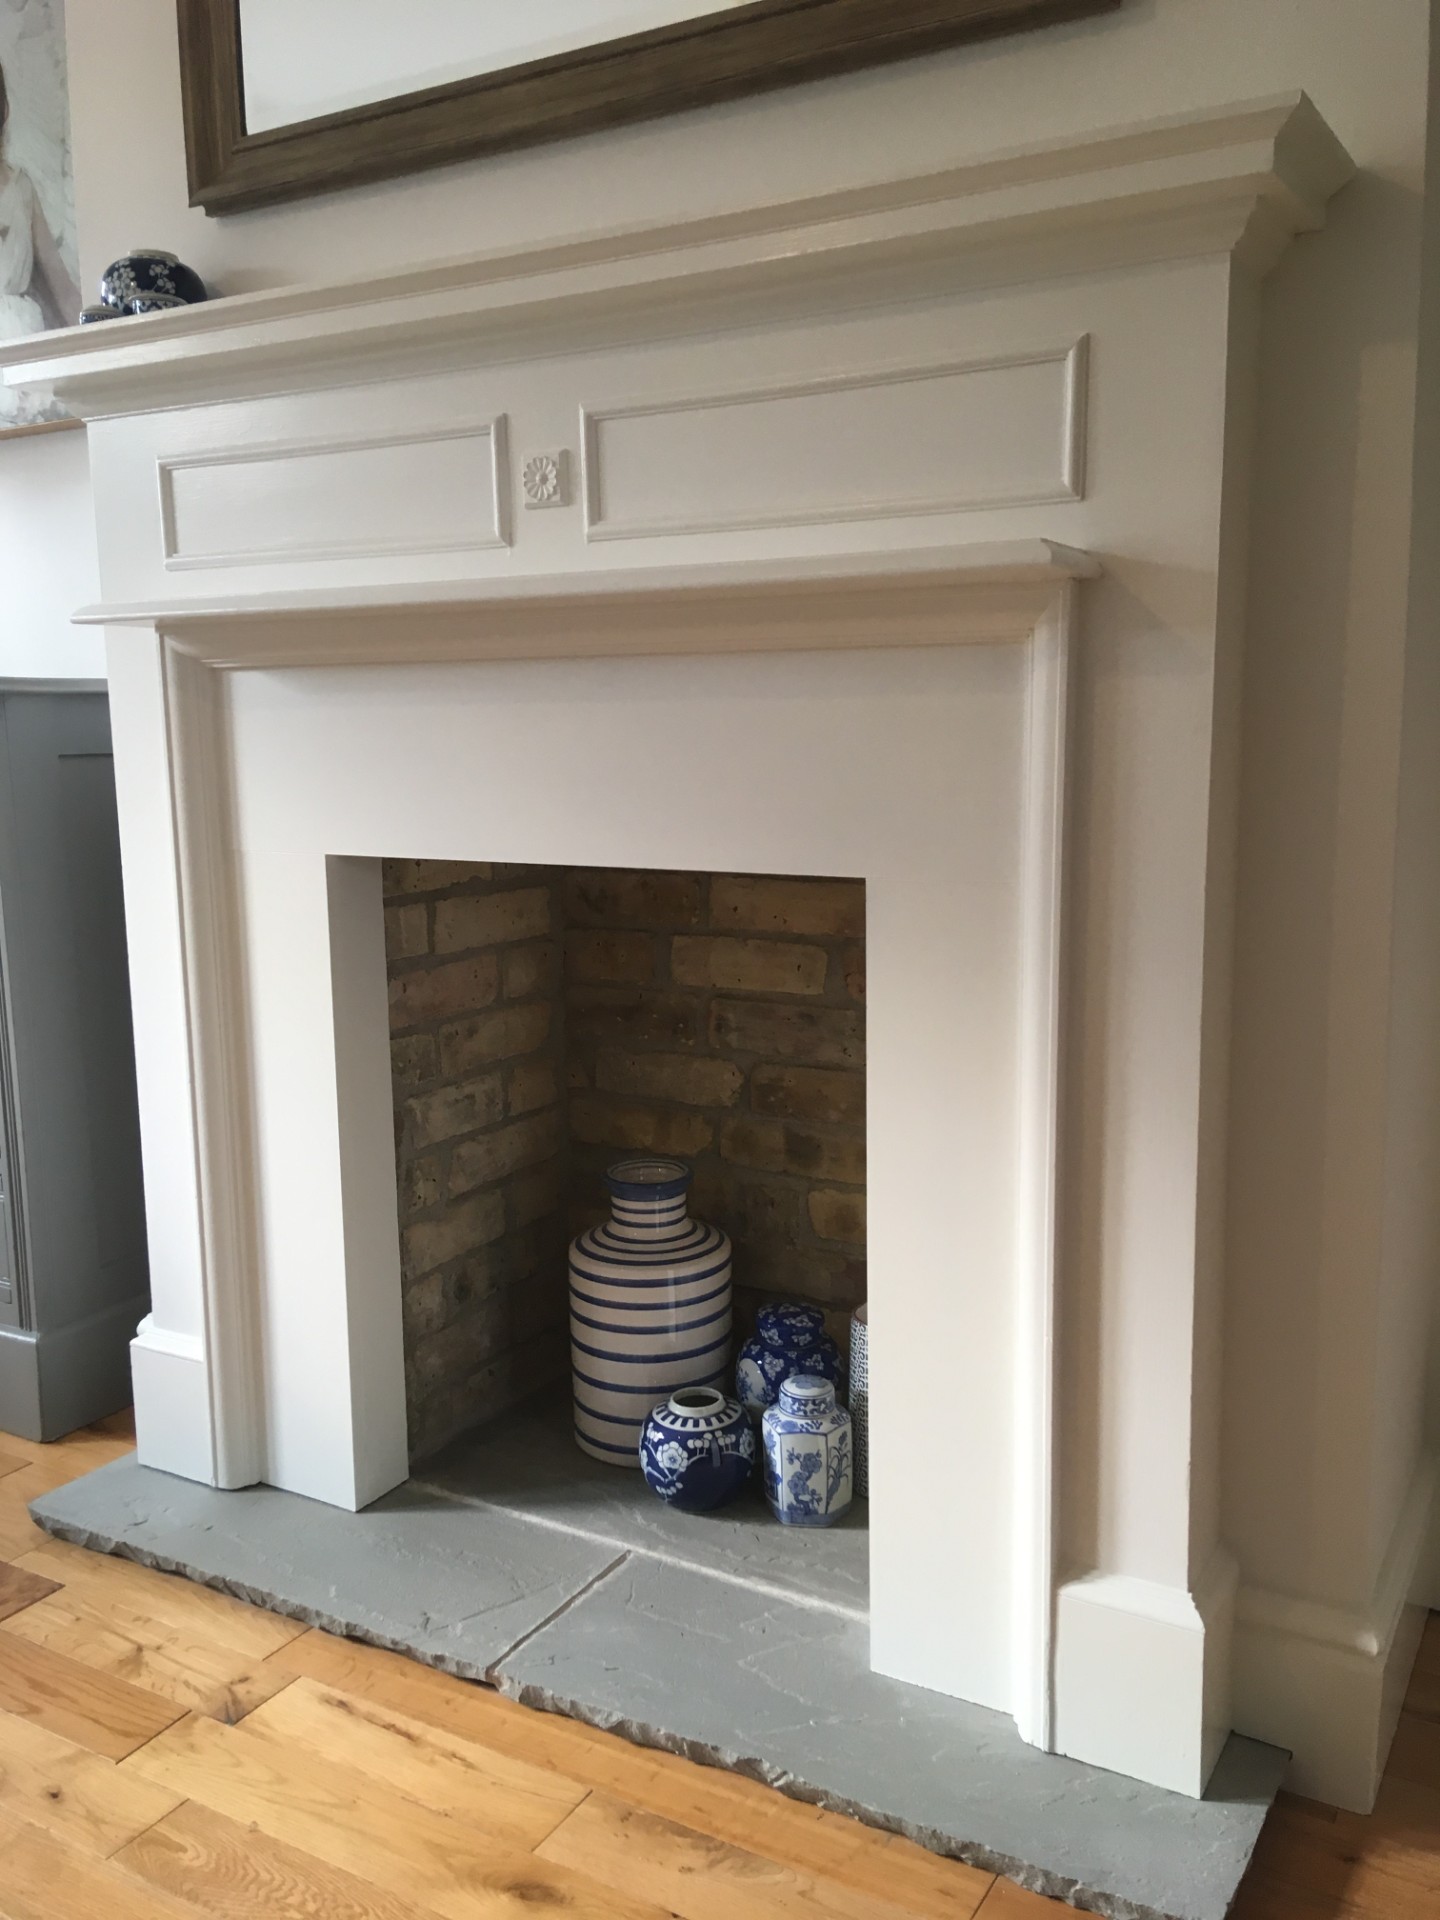
What type of hearth do you have?
There are two common types of hearth – a single piece or a multi-piece hearth. These need slightly different installation methods:
Single piece – often heavier, but if you can lift them, they can be slipped into place in one go.
Multi-piece – insert each piece back to front. If you install the front piece first and get the back piece wrong, you will have to remove the entire thing. Start with the back, get that right and then move on to the front.
.jpg)
-3.jpg)
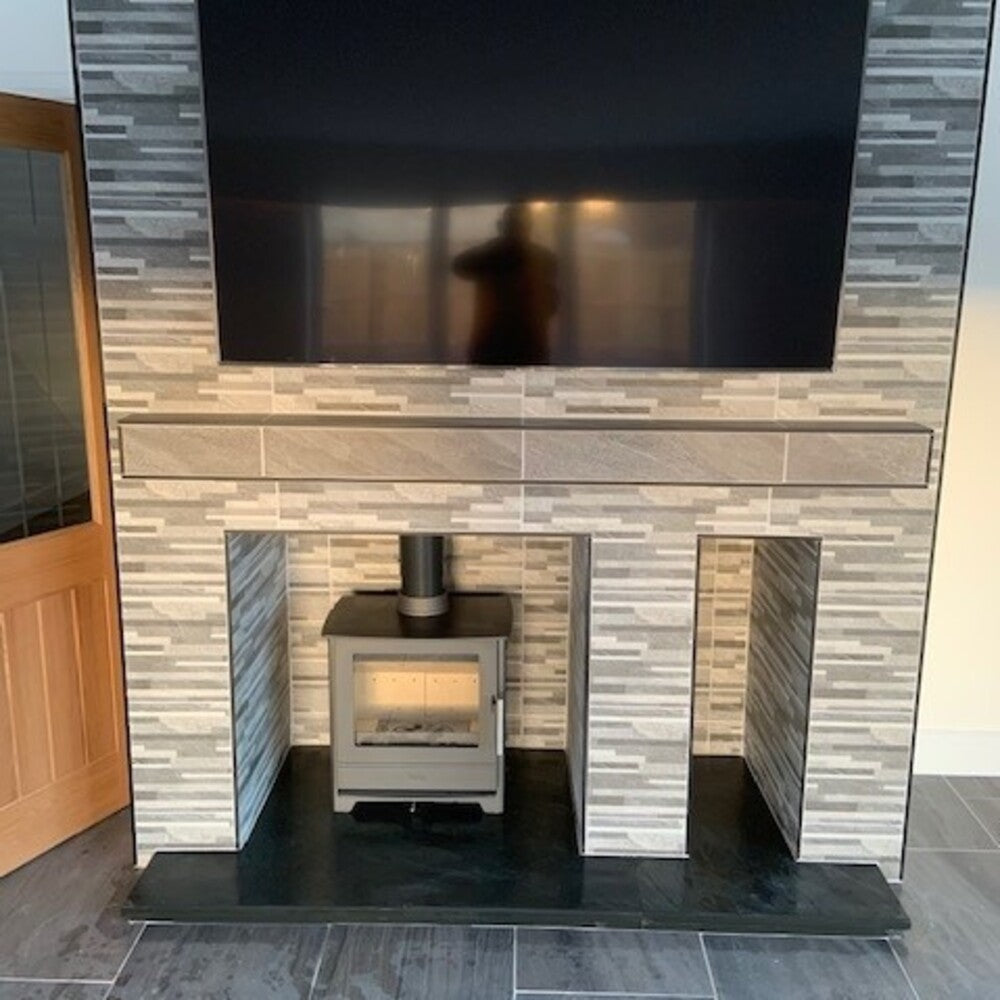
What type of fire/burner are you going to install?
This dictates the type of base you need to have for it to sit on. An open fire puts a hell of a lot more heat into the stone than a closed wood burner, so they need to be treated differently.
Open fire – this needs to sit on what is known as a constructional hearth. This is a concrete base layer of at least 250mm thick – the heat that the fire puts out will be too high for 30mm decorative hearth to protect the flooring underneath,
Wood-burner/eco-burner – these burn much cooler. They put out much less heat into the hearth, so there is no need for a ‘constructional hearth’ underneath your decorative one. The decorative hearth will do the job just fine (see our log burner hearth ideas article)
1. Preparing the area
Before installing a working wood-burner, you need to ensure the area surrounding is safe and non-flammable.
To be on the safe side, you may want to remove any skirting boards that are within 150mm of your fireplace. Skirting boards are normally exempt from being classed as a ‘flammable’ material in terms of building regs, but personally, I would remove them. If you are desperate to keep them, please investigate the legalities of this as it can be a little confusing so we wouldn’t want to provide any firm recommendations. The only recommendation we are confident in is to remove them altogether!
After this, make sure the area you are placing your hearth is free of any dirt and is bone dry. It’s also important that the surface is sturdy – you are about to place 50kg+ of stone onto it so make sure it can take it!
Place a tarpaulin or other cover around the area you are installing the hearth. Things can get messy, especially when working with adhesives, so cover up!
2. Laying the hearth
This is the part people often over-complicate. A lot of what you need to next depends on the surface you are installing the hearth on, but it all comes down to making the surface level, stable and free from rocking.
On a smooth, level surface:
If the base is smooth and level (check with a spirit level), then this makes it easy. Some people have previously slipped the hearth into place as it is without using any adhesive and had no issues, but you can use a bit of grip-fill on the base just to make sure the stone keeps in place.
On an uneven surface:
There is a little more work here as you need to ensure you level the surface out as best as possible. This is done by using a layer of flexible tile adhesive or ‘thin-set mortar’ to level the surface out before placing the hearth on top.
If you are planning to sit your hearth on a laminate or other non-concrete surface, think again. The only real stipulation is the hearth needs a concrete base to sit on in order to be stable and level – placing the hearth on a carpet or a laminate floor can cause problems with stability, so make sure you have a concrete base.
Adhesive
Place tile-adhesive on the concrete base that your hearth is going to sit on. Place plenty of the tile-adhesive or ‘thin set mortar’ on your base. Using a 5-10mm tilers’ trowel – 5mm will do, but you can do more to be safe – level the entire base so it is even. You need to cover the entire area and keep it level so make sure you have covered the entire surface evenly. A good trowel will help with this.
It’s important the entire surface is levelled with the adhesive. Any air pockets that occur due to a lack of adhesive layer above the concrete can provide a potential weak point when heated up. Cracks will always start where the is a weakness, so don’t give it a chance and make sure the entire adhesive layer is even.
Getting level
Once the adhesive layer is even, you can slowly place the hearth onto the adhesive layer. If it is a multi-piece hearth, start with the back and work forward. Place the stone onto the adhesive layer and give it a good tap across the entire stone with a rubber mallet to bed it down. Use a spirit level to check all over the piece to check its levels. Where the levels need adjusting, tap the stone into place at points where the hearth is raised, continually checking the level of the hearth. Ensure the stone is bedded down and level across the entire piece to ensure strength and stability.
3. Let cure for 24 hours
Once the piece is bedded down, you need to leave it for at least 24 hours to adhere to the base. This means do not do anything with it, especially not lighting the fire, until the tile adhesive dries. Be patient! The last thing you want to do is create a wobbly surface because you couldn’t wait to get the fire started.
4. Filling expansion gaps
Once the tile grout is dry, you need to fill or ‘grout’ the remaining gaps around the border of the hearth. When measuring, you should have allowed for a 5mm expansion gap around your hearth wherever it would be touching a wall. This gives the stone space to expand into as it heats and cools, so it doesn’t crack.
However. These gaps can look a little unsightly and it makes sense to fill them up. If you want to fill them, make sure you go with something that is heatproof and flexible. A tile mastic will do the job and is available in enough colours that you will be able to find something that matches. Using a glue gun, fill the expansion gaps with mastic and allow a full 48 hours to dry.
.jpg)
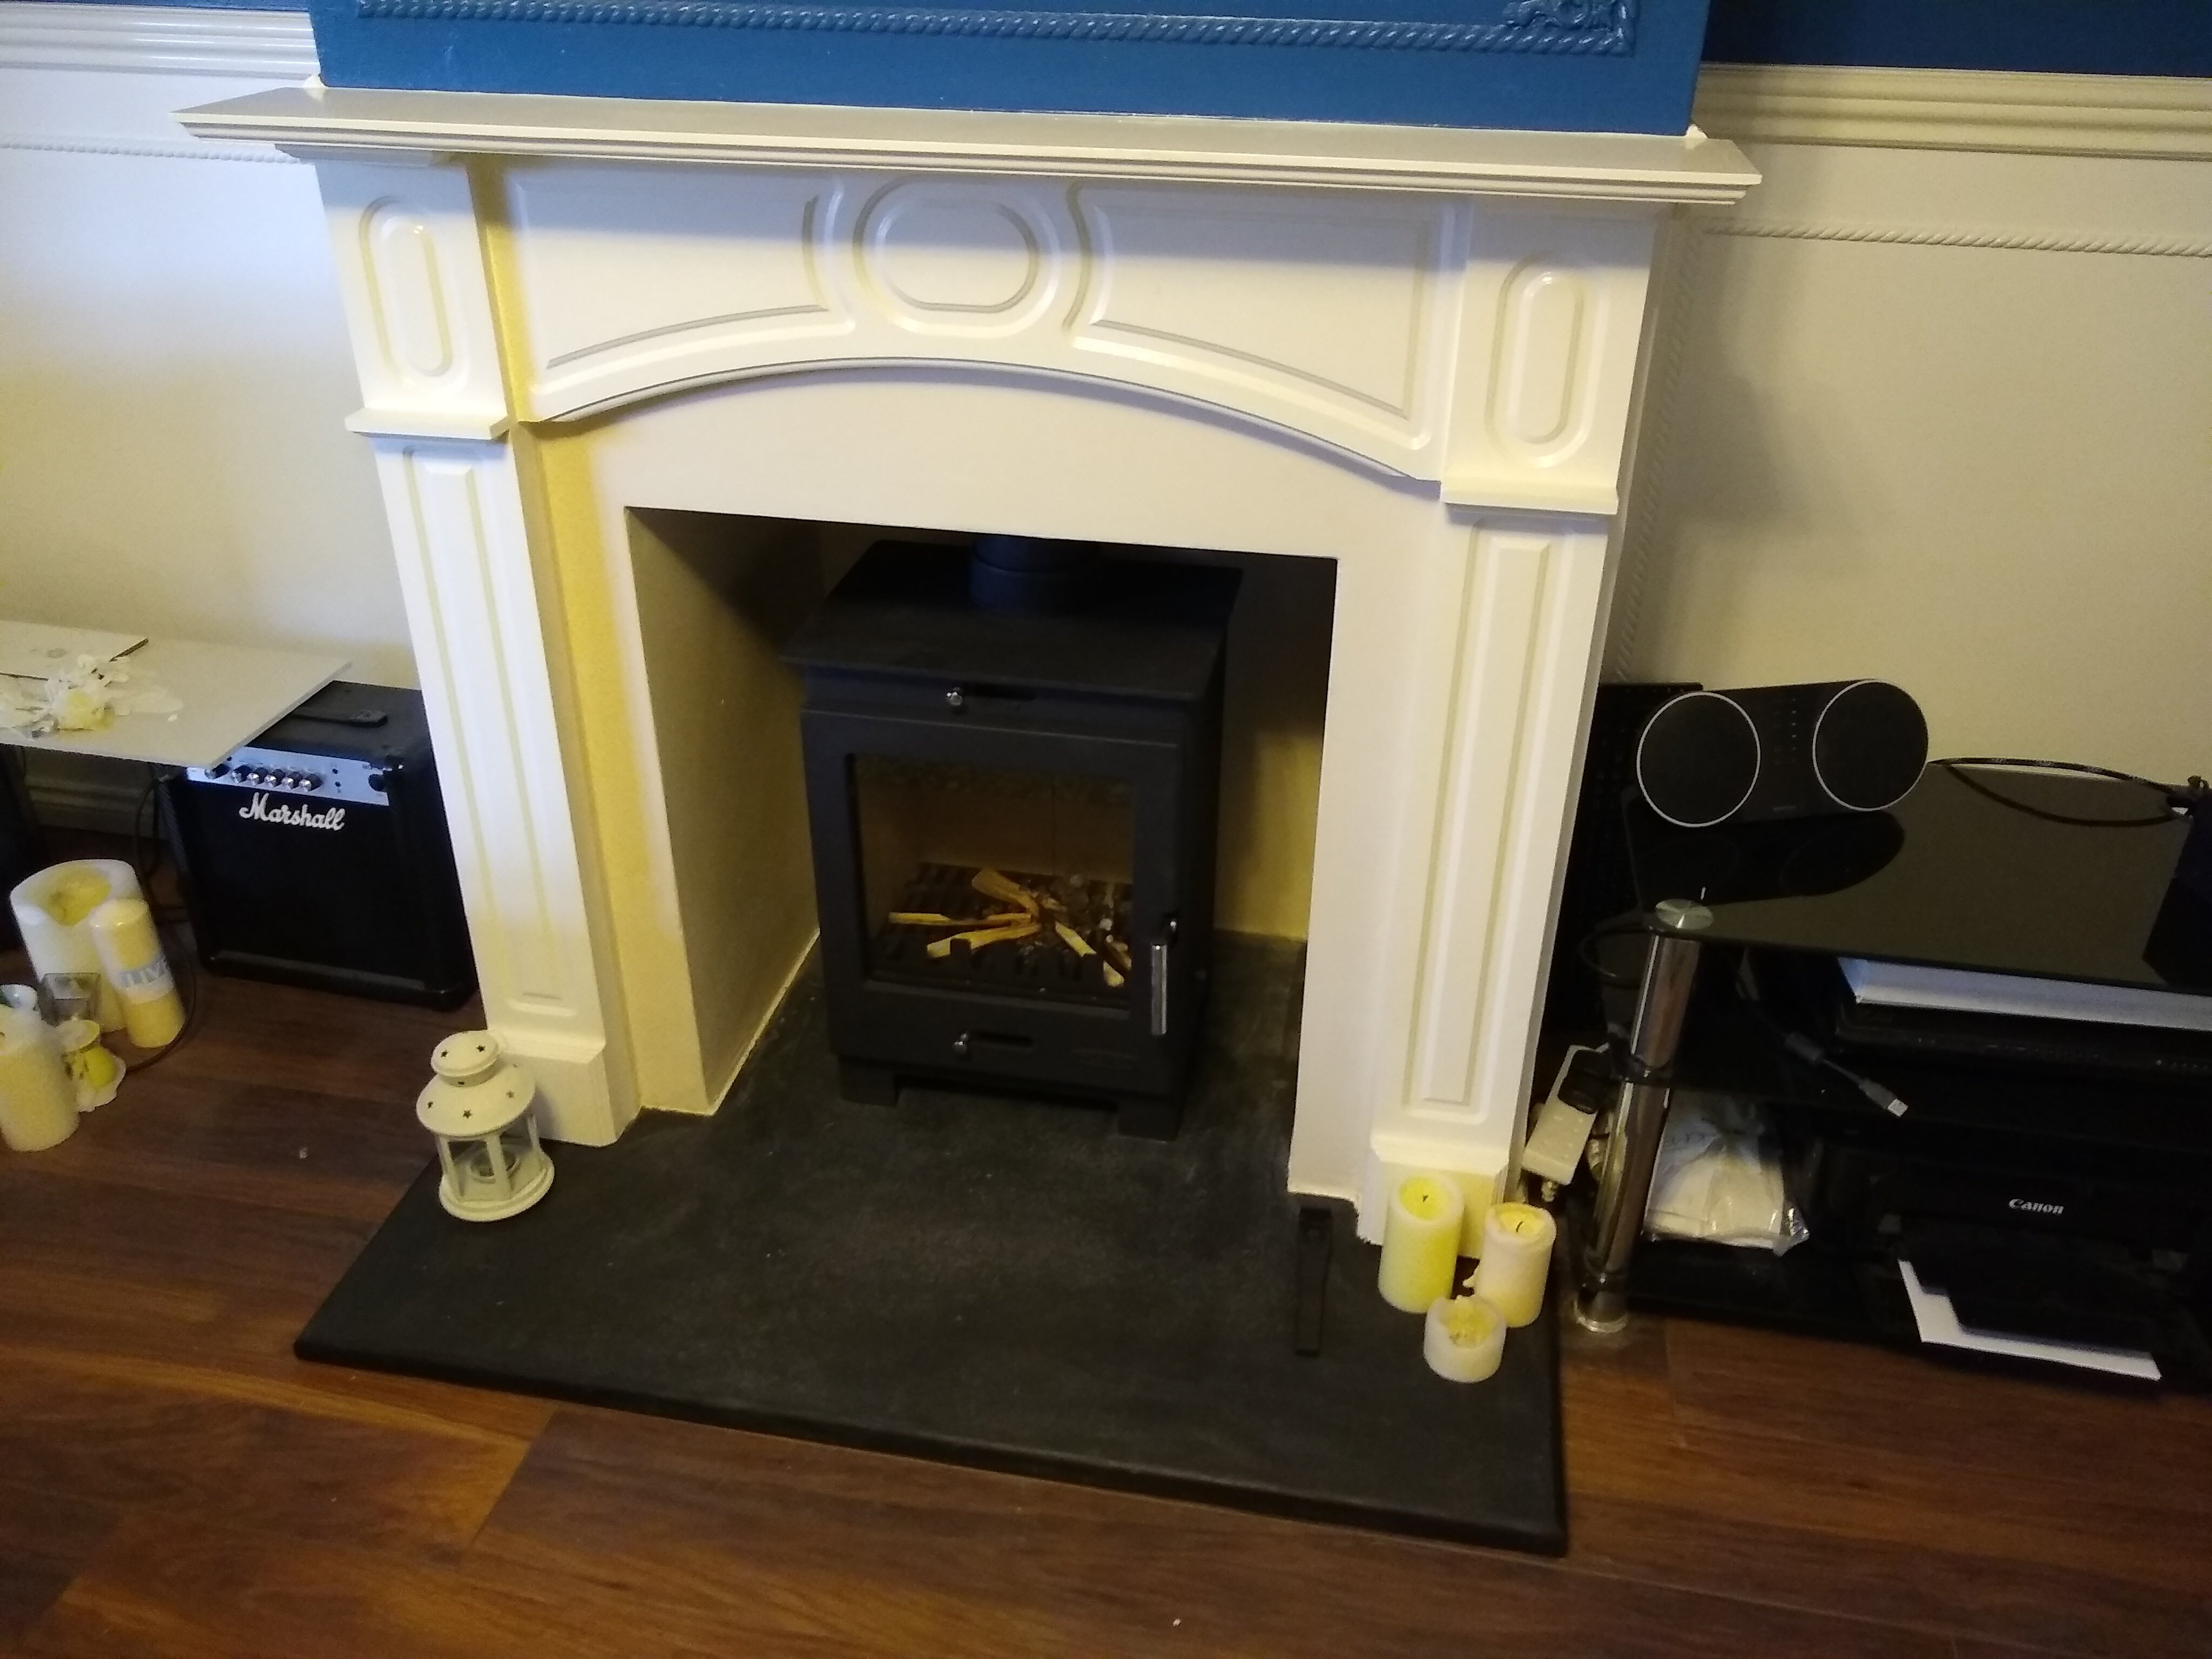
Conclusion
People often think the installation of a hearth is more difficult than it is. There are certain building regulations that you need to stick to when ordering your piece as a hearth needs to adhere to certain dimensions.
But if you’ve measured up the piece correctly, installation should be a doddle. Use a good quality tile adhesive and make sure the surface is even before tapping the piece into place. As long as the surface is even, the stone is tapped in and you’ve checked it is level, that’s all you need to worry about!
If you’ve got any questions about installation, fitting or even measuring up your hearth you can:
Call us on 01733 810161
Email us at sales@primethorpepaving.co.uk