These days, treating your garden space as an extra room is increasingly popular - and why not?! The space is right there waiting to be used and it's nice to see so many people taking advantage of it. Having a function, stylish outdoor space can make your home feel bigger as well as adding value to the property.
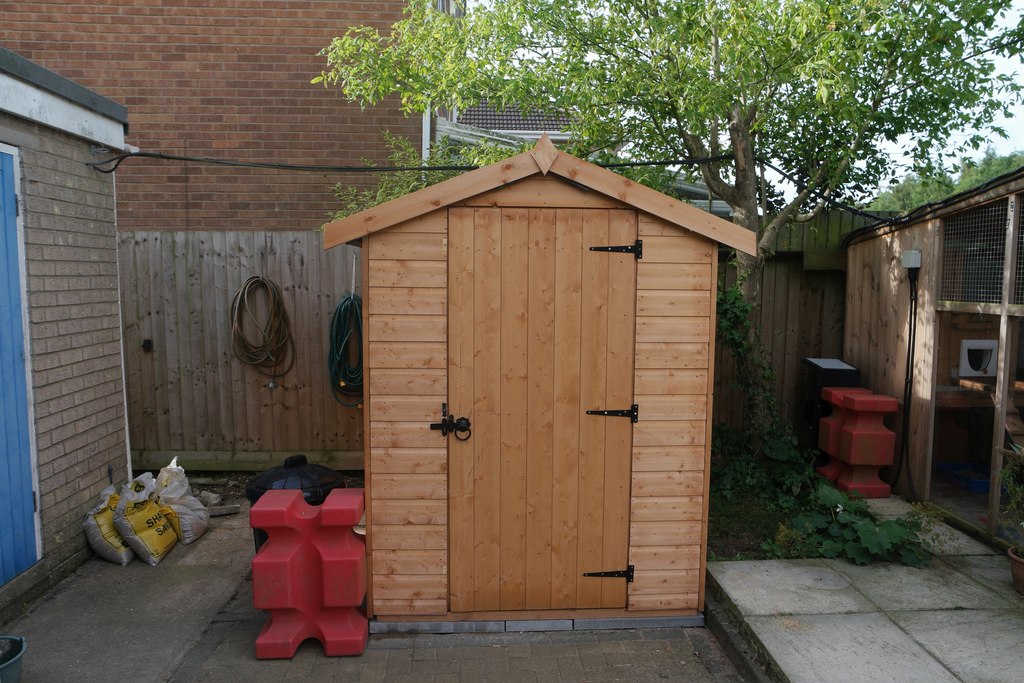
A popular part of a functional outdoor space is an additional outdoor room, whether that is a small, simple storage shed or a large log cabin to spend time in. The one thing these types of buildings have in common, is they all need a solid base to build on. No matter what they are being used for, you can extend the lifespan of the unit by a decade or more by providing a solid foundation for it to sit on.
Key Takeaways:
- Necessity of a Solid Base: A solid base extends the lifespan of outdoor structures like sheds by preventing timber rot and misalignment.
- Paving Slabs as a Foundation: Paving slabs offer a permanent and sturdy solution for shed bases. They're heavy and labor-intensive but provide long-lasting stability.
- Location Considerations: Choose a shed location with enough surrounding space for maintenance, away from vegetation and trees, and considering convenience and natural light.
- Preparation and Materials: Prepare the area by clearing vegetation, select square paving slabs for ease, and ensure accurate measurements for a snug fit.
- Installation Process: The process includes digging out the area, preparing a sub-base, mixing a cement mortar bed, dry laying slabs, then laying them properly with mortar. Ensure even and firm placement with a rubber mallet and check levels consistently.
Why Do You Need To Build A Shed Base?
The alternative is placing your new shed on a proper base, is simply popping it straight onto grass. This is an attractive option for many, after all, it seems sturdy enough to support a shed. Whilst this is true, placing your building on grass shortens its lifespan significantly. The timber will begin to rot away pretty quickly and you'll find the doors and walls dropping out alignment in a very short space of time, rendering most of the building pretty useless as well as exposed to water damage.
Also, it's probably worth checking with the manufacturer of your shed or outdoor building as laying on a solid paving slab base is often a condition of the guarantee being valid.
Why Use Paving Slabs For Your Shed Base?
The reason paving slabs are so popular for use as a base is because they are the perfect combination of the most permanent solution, as well as one of the more simple ways to do it. Once they are down, they aren't going anywhere and are going to provide a solid foundation for years.
That's not to say there aren't drawbacks. They are still a heavy piece of kit and are quite laborious to get down. If they are laid too near a tree, it's also a possibility that the roots may one day grow underneath them and pop them up. So make sure when you choose the location of your base, it's away from trees & bushes where possible.
But overall, the paving slab method is almost certainly the best option if you want to get it right.
Where To Build Your Shed Base
The first thing you need to consider is where you are going to place your shed. A good idea is simply to make sure the shed is going to have plenty of space around it for a number of reasons:
- You need to be able to have access to the shed on all sides for ongoing maintenance, that means leaving space between walls and fences for access too.
- The shed needs to be away from vegetation and trees to prevent anything growing into it, or ruining the foundations. If you have no choice but to place the building near a tree, make sure to trim it back as much as possible before you get started.
Additionally, depending on what you are using it for you need to consider. If you are using it as storage, you don't want to place it miles away so you have to lug heavy items back and forth whenever you need a tool. So keep it accessible.
If you are constructing a day room or a log cabin, then you need to ensure you have plenty of natural light hitting the space - no one wants to spend time in a dark room by choice! Additionally, if you want to have water or electricity in a particularly large outdoor room, make sure you know where your sources are and you place the base with that in mind.
Laying Your Paving Slabs For Your Shed Base: How-To
To make sure your shed base is going to last for years - slabs can't be laid on soft ground, so the ground needs to be prepped to a good standard.
Materials:
- Pegs & Strings
- Building Sand
- Cement
- Slabs of Choice
- A Long Spirit Level
- Rubber Mallet
- Set Square
- Wooden Pegs (60mm x 60mm)
- Tape Measure
- Shovel or Edging Tool
- Wacker Plate or 'Earth Rammer'
- JointIT
- Sweeping Brush
- Trowel
- Bucket
- Wire Brush
- Tarpaulin (if bad weather)
Method:
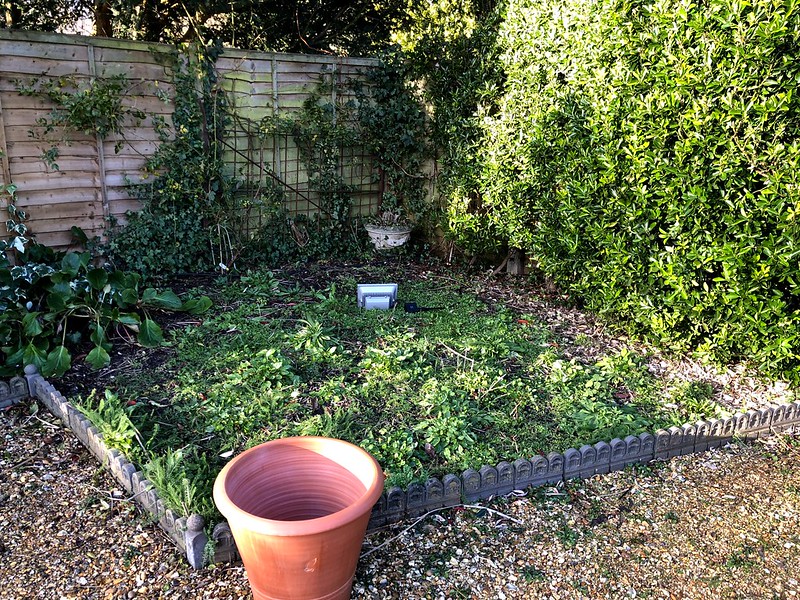
1) Clear The Area
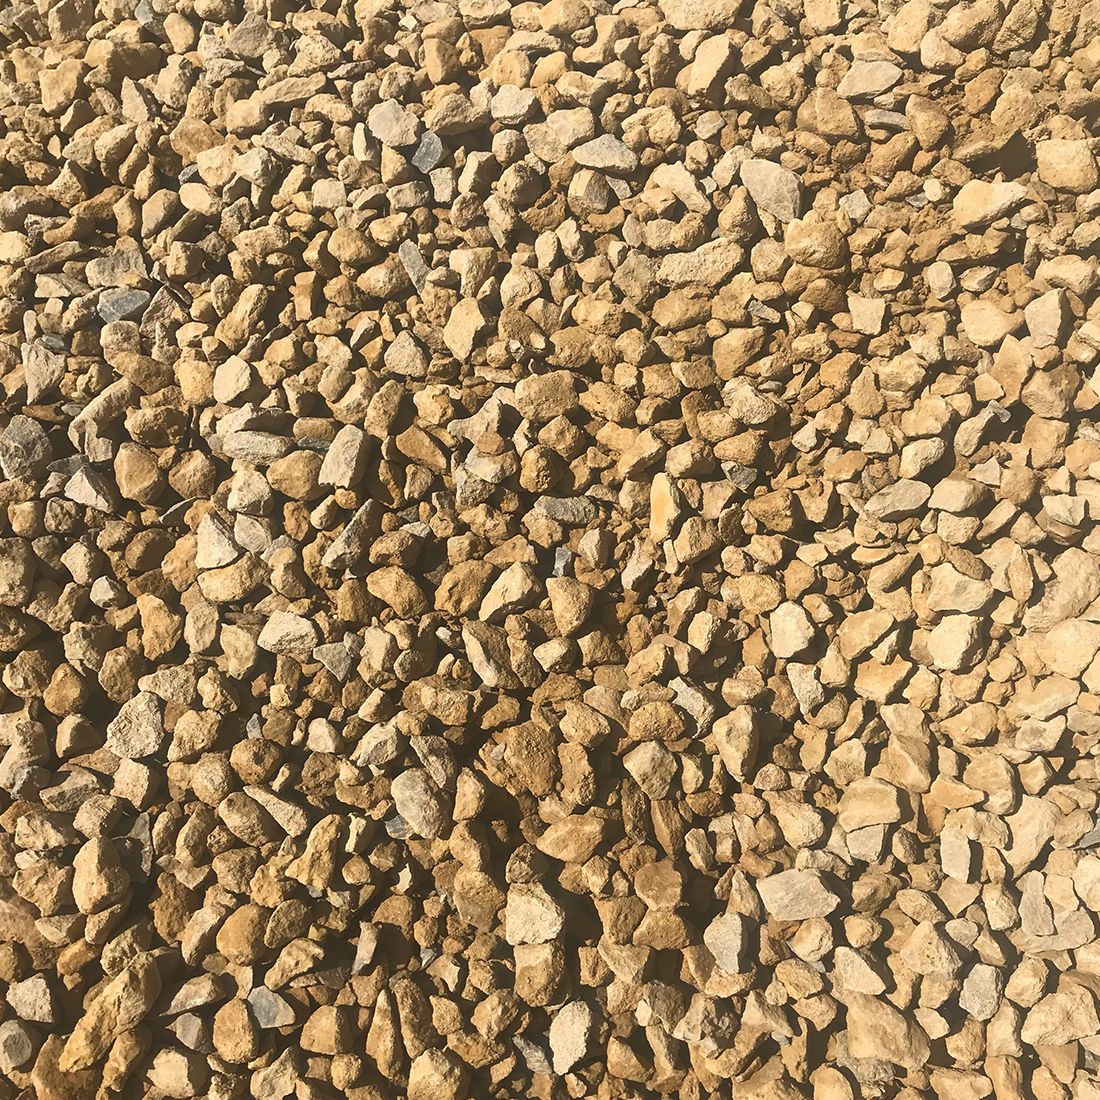
Remove all vegetation and cut back any trees or bushes that are anywhere near the area for your shed base. Remove all rocks and stones from close by and anything else that could cause problems during installation. In general, the less cluttered the area the better.
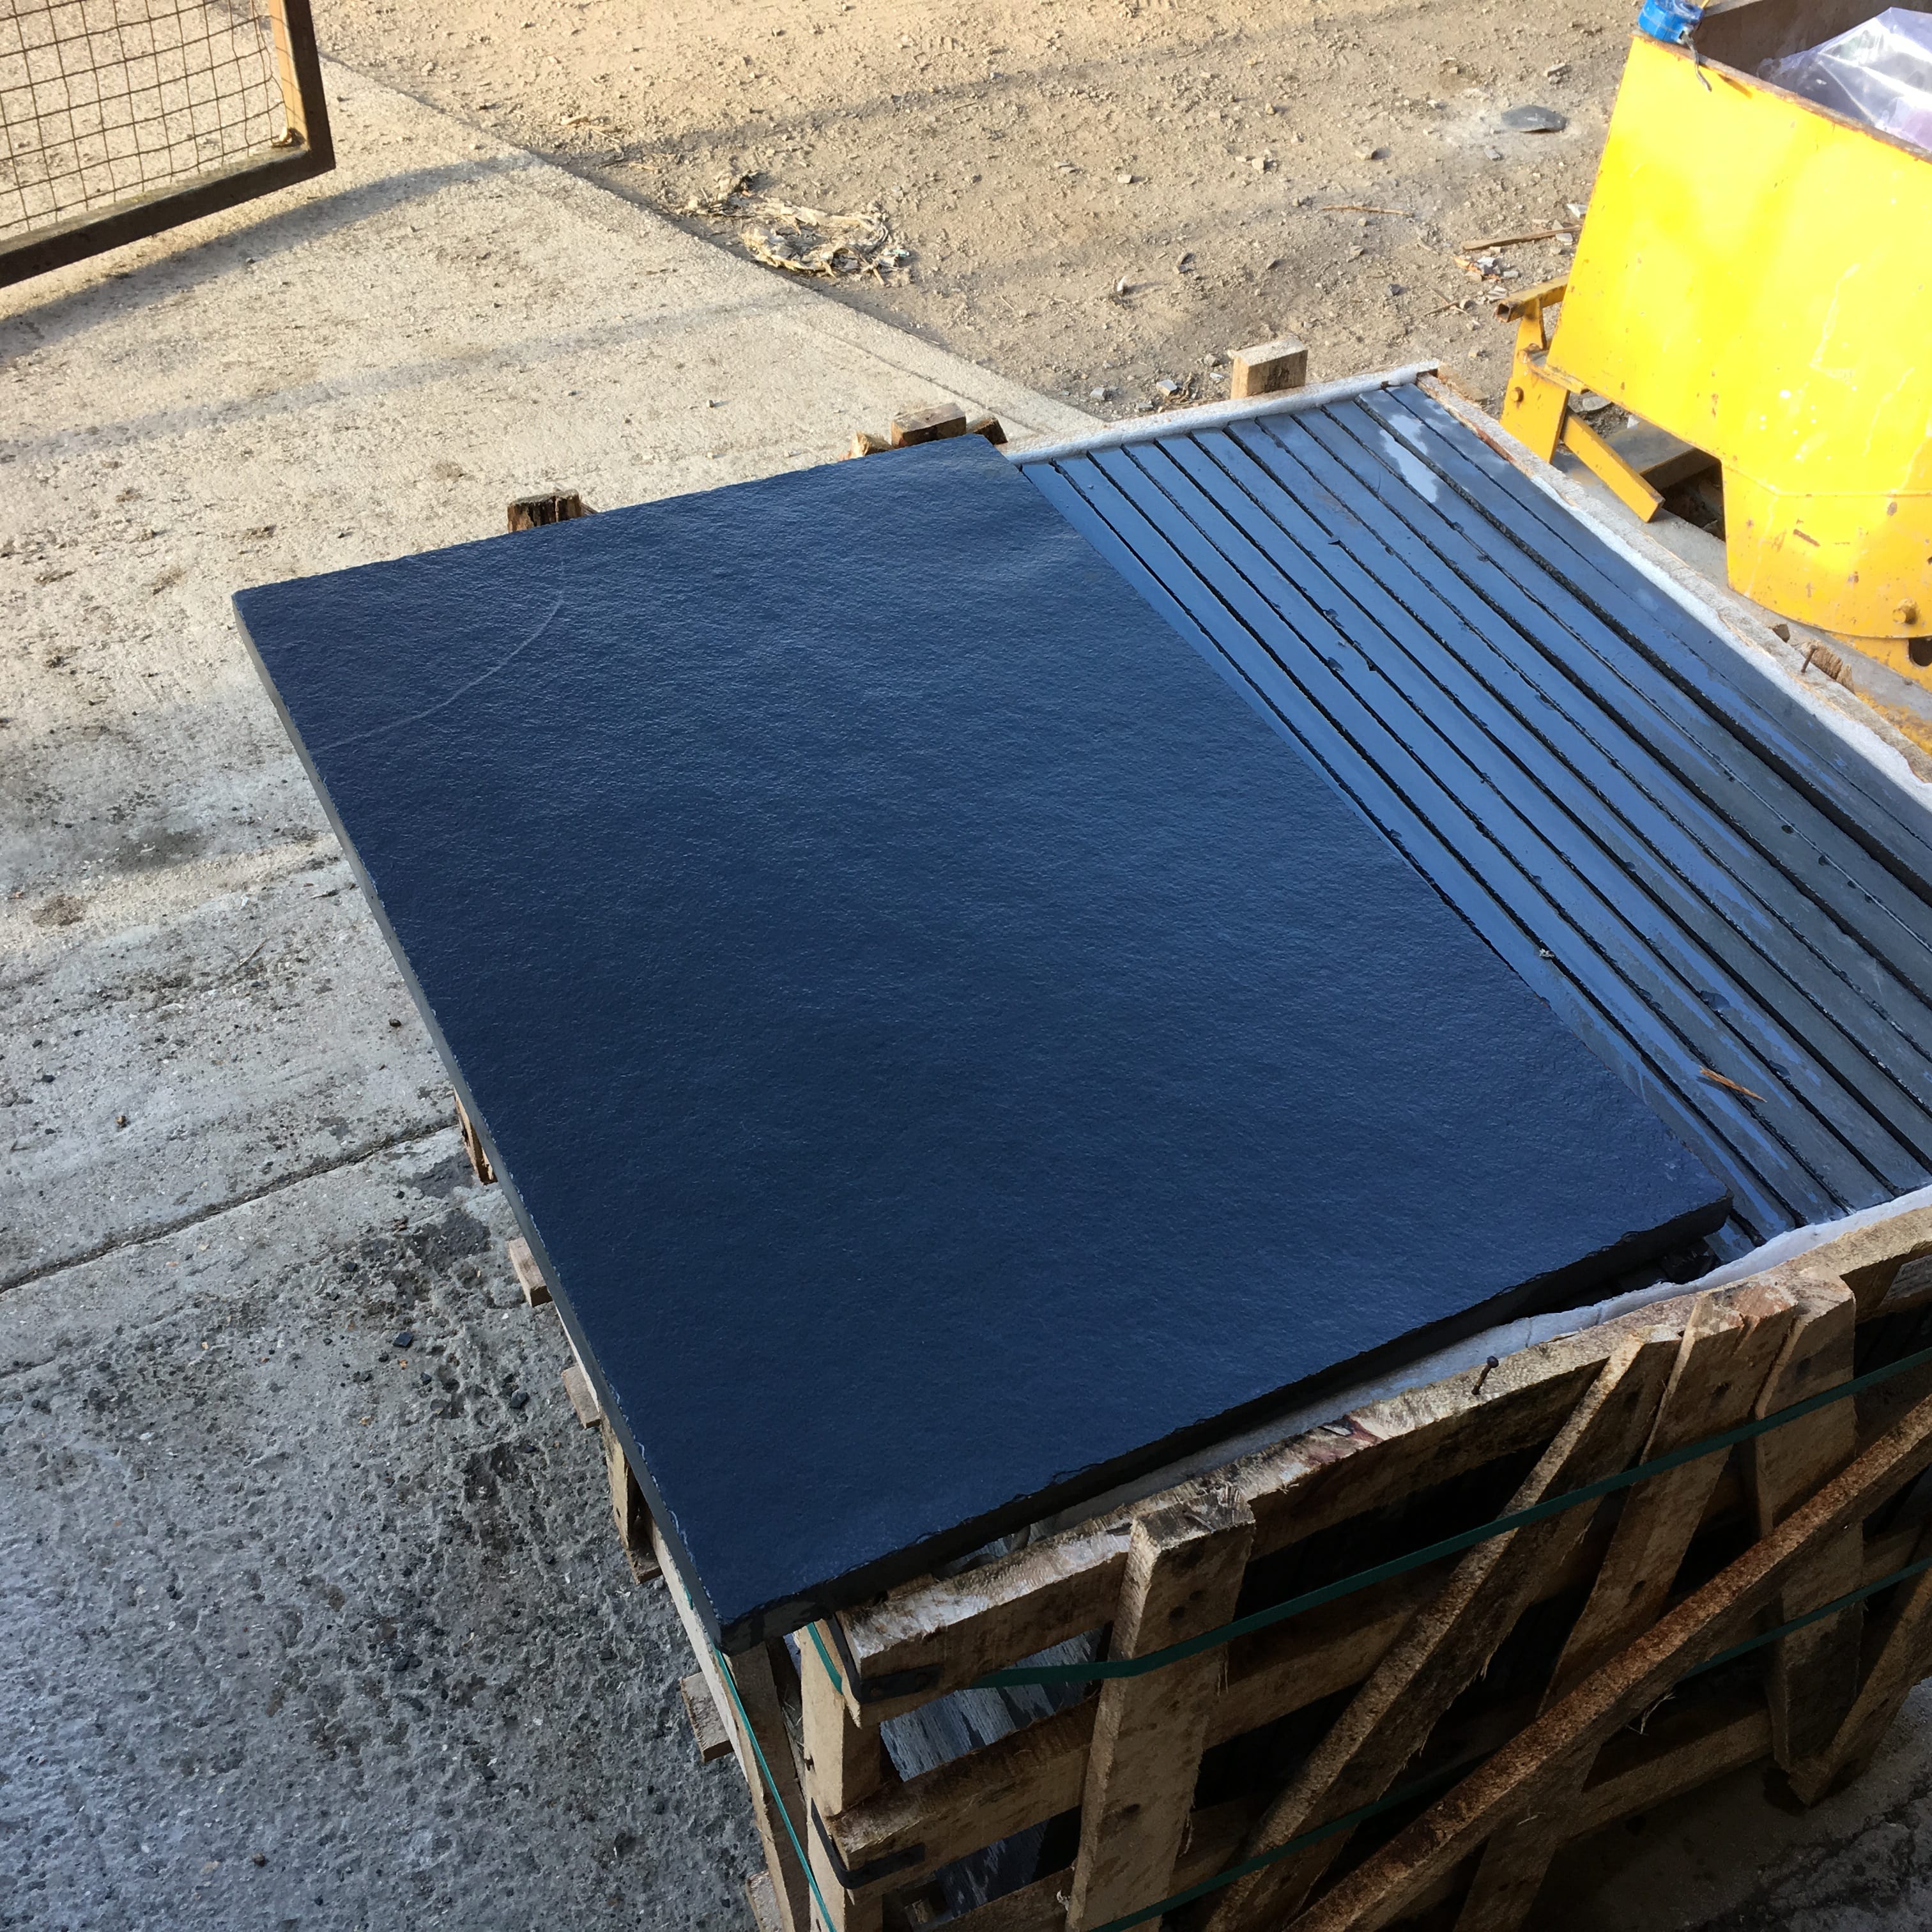
2) Choosing Your Slabs
You need to select the type of slabs which will form the base before you measure anything. The best approach is just to use single size, square paving slabs such as a 60cm x 60cm slab. This is by far the easiest method as you are working with multiples of 0.6m and you can plan your area accordingly to ensure no cuts are needed.
3) Measure your base
Place a single peg at one of the corners of where you want the base to go. Using a set square to ensure you are creating a proper square, measure to the next corner of your base. This should be long enough to extend at least 5cm longer than the actual base of your building. So, if using the 0.6cm slab method, the edge should measure a multiple of 0.6m: If your shed is 1.5m x 1.5m, each side of your base should measure 1.9m so you can use 3 whole slabs, with an extra 10cm cushion so you don't have to cut anything. Repeat for each corner peg, making sure you have a string-line running between each peg so you can ensure the edges are straight.
Tip: Once you have measured all 4 corners, measure the diagonals too. Both diagonals should be exactly the same if you have created a square.
4) Dig Out The Area
using an edging tool or large shovel, stab round the perimeter that you've marked out with your pegs and start to lift the grass. You should dig down to a depth of around 12cm to allow for a 6cm sub-base and a 6cm mortar bed. When digging out the grass, the best way to do this is to stab down and lift in 50cm rectangular strips, one at a time. Stab the rectangle all the way round and then lift from one edge. The turf can then roll up like a Swiss roll and can be carried away.
5) Prepare Sub-base
Once dug out, you need to give the slabs a really firm base to sit on. The first step is to get the 60mm x 60mm wooden pegs and tap them into the ground - this gives you a depth marker to work with. Place the pegs about 1m away from each other across the entire area and use a spirit level to ensure they are at the same height. Fill up the dug out area with the Type 1 MOT until it sits just above your markers. Compact your hardcore with a whacker plate or a handheld 'earth-rammer'. Once this is all whacked down, coat the area with shard sand and rake it out to make it level.
6) Mix Cement For Patio Bed
Using 6 parts building sand and 1 part cement mix, make your cement/mortar. You want to use a weaker mix than what is normally recommended (normally a 4:1 Ratio) as you need the base to be water permeable. Any water that isn't able to drain away after rain is going to cause real damage to any timber that remains. By creating a solid sub-base in step 5, your foundation will still be tough enough to take an outdoor building sitting on it without a really strong cement mix.
7) Dry Lay Your Slabs
This is a good, if optional, step to take. While your mortar mix is being mixed, dry lay your slabs directly onto the sub-base and make sure it all fits and looks how you want it to.
8) Lay Your Slabs For Real
Once the mortar is made, take up your slabs after your dry run so you can begin laying them. Place your mortar directly onto the sub-base, enough to cover about 1 or 2 slabs worth of area at a depth of 60mm (which should take you up to top of the dug out area in stage 4. You want fresh mortar all the way round as you go - there is no need to lay too much mortar all together as by the time you get to lay a slab on it, it may have already begun to dry out. Once you've placed your slab on the mortar bed in the desired position, tap it down gently but firmly with a rubber mallet until it feels nice and in place. Repeat the process 1 slab at a time, leaving 10mm gaps between each of them. Consistently use your spirit level between two slabs to ensure they are level as you go round.
9) Let the Area Cure
leave the area exposed to the air for 48 hours in order for the mortar to set and secure everything in place. If rain is imminent or the slabs are likely to get wet, cover with a tarpaulin and clip it down. Uncover when you are expecting to get 48 hours of dry weather.
10) Joint The Slabs
Also known as pointing or grouting, you need to fill the gaps between the slabs so that they are firmly held together. We recommend JointIT as it is water permeable and very strong. It does everything you need it to do whilst being easy to apply. Once cured, wet the slabs down with a hose until they are soaking wet and tip the jointing compound out onto it. Dampen the compound as well before brushing it into all the gaps between the slabs.
11) Wait Another 24h Hours
Just before you build your outdoor shed on your new base, let the jointing compound set fully by waiting another 24 hours. Once that's done - that's it! You are ready to place whatever outdoor building you were planning onto your base.
In Conclusion - Not Dissimilar From Laying A Patio!
There are a few quirks that make it different - or a few additional recommendations to make your life easier which you may not ordinarily get away with if you were laying a patio. So it's important to take note of the differences. However, there are similarities between the two, so if you are familiar with laying a patio, you may well take to this like a duck to water!
Overall the paving slab method is likely the easiest way to get the base ready for building on, while still giving you a guaranteed foundation for years to come.