Isn’t it lovely to sit and relax in your garden in the summer sun? While beautiful sunny days are often few and far between in the UK, they’re brilliant to enjoy while relaxing on your patio with a good book or for an afternoon snooze.
Just as you begin to relax though, you spot it. You start to notice that the patio grout between your flagstones is worn and ugly. You might even notice that some of it is starting to come out as it is has deteriorated so badly.
This is normal. The patio grout in-between your patio stones has taken the brunt of the good and bad weather that the UK has to offer, but it can't and doesn't last forever sadly. However, your grout is a key part of your patio area. Not only does it make your patio look great (or bad), it also extends the life of your patio by limiting lateral movement.
If your grout is old, damaged, crumbling or showing clear signs or deterioration you may be worried that you need to replace the entire patio. This is not the case. Fortunately, you will not need to replace all the paving stones, just the patio grout in-between the stones. This will repair your patio and leave it looking as good as new again.

Preparing the Old Patio Area For Grout Repair
The first thing you need to do is prepare the area. Ideally, you want to choose a dry weather day to repair your patio grout, however, with the new-age supplies that are available today, wet weather won't stop you. Repairing your patio grout is a DIY project that you can do yourself, but it can get messy, so not only should the area be prepared, but you should be prepared too.
You’ll need a grout removal tool to start. This tool needs to have a carbide blade on it to remove the patio grout from small areas. You will then need a rotary tool. This can be used to remove the grout from larger areas. But if you're happy to do the whole thing manually, then just a regular grout removal tool will be fine.
When you’re scraping the patio grout out, make sure not to cut the tile or patio stone. It’s a good idea to have a sponge or outdoor vacuum to hand, to get rid of the broken grout as it comes out from in-between the patio slabs.
Preparing The Mix To Re-grout Your Patio
Like any great mafia movie may have taught you, there are two ways to go about this: The easy way, or the hard way.
Let us start with the hard way...
In this method, you will need to create your own mix and install it carefully. Mixing the grout can be the trickiest part of repairing the patio grout. It’s tricky because the grout will need be the same colour shade as the existing patio grout and this can take time to get right. Once it's looking correct, fill the area that needs repairing with the grout and let it stand for around 10 minutes before cleaning the area off with a damp sponge.
There is a lot of risk with this - cement stains very readily! So you may end up with picture framing around the patio slabs you are attempting to repair. Ultimately it may be easier to simply call in a professional with experience of how to repair patio grout. They have the tools for the job and can come in, clean out the old grout, install the new grout and clean up when they’re done. You’ll never know that they have been there, but you’ll notice how amazing your patio area looks again.
However, there is an easy way...
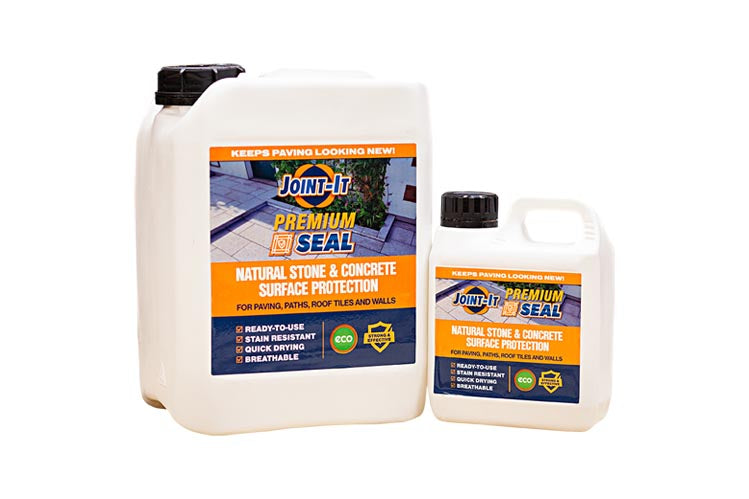
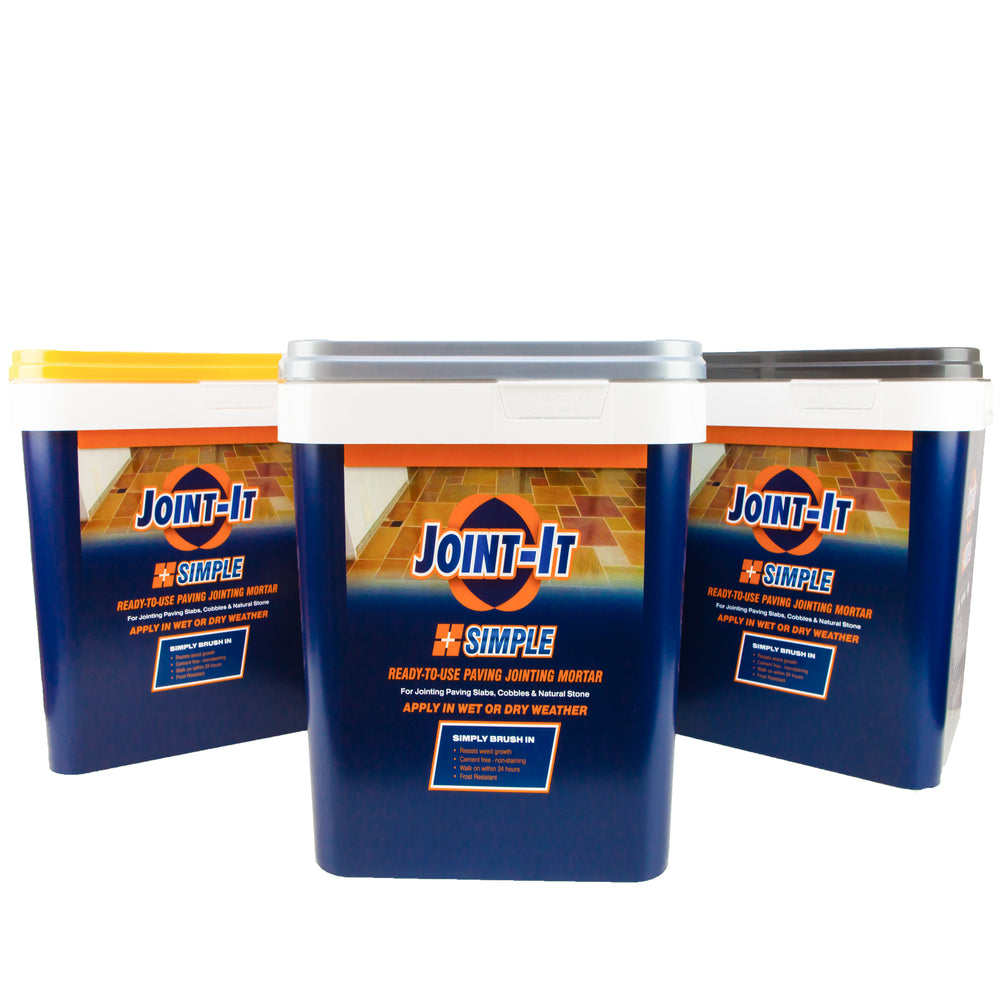
We are in the age of pre-mixed resin-based jointing compound - which is a pre-made product you can buy which simple sweeps into the joints and sets off all on it's own. You can read more about it here.
If your current patio doesn't currently use a jointing compound, it might be a good idea to redo the whole thing if you've got the time and budget for a redo! Overall, it makes repairing and maintaining the patio easier in the future, so is well worth considering.
Selecting The Colour of Your Patio Grout
Repairing your patio grout also gives you a chance of changing the look of your patio. For example, you could choose a patio that is a darker shade, a lighter shade or a different shade altogether. Opting for a black or brown patio grout will add drama and interest to your patio area. However, if you opt for a lighter grout or a white grout for example, it will really brighten up your patio area.
If you are using a jointing compound, this is a much easier job. Just purchase the tub in the colour you want! However, if you are mixing your own this job becomes a lot trickier as we mentioned above.
The late spring and early summer months are the best times to repair your patio grout. The weather is more likely to be dry and it means you’ll have the best-looking patio area ready for all the BBQs, garden parties and patio sunbathing you want.
If you’re not sure of how to repair your patio grout, call our team of grout experts who will happily answer any questions you have.
2 comments
Hi Maya, not sure what’s going on here as we don’t stock bluestone patio grout. It may be that the product contains dyes that have washed away after being exposed to pool water. But you would have to confirm with the manufacturer
My bluestone patio grout around my pool was gray when it was installed. It is now turning and orange sand color almost as if the gray mixture that was mixed with the sand is gone and what is left is the orange sand. My installer says it’s not his problem.